
Adding disc brakes to a bike can significantly enhance its braking performance, especially in challenging conditions. This modification is popular among cycling enthusiasts who seek improved control and safety. However, it requires careful consideration of the bike’s existing components and compatibility with disc brake systems. In this article, we will explore the feasibility of adding disc brakes to different types of bikes, the necessary components, and the steps involved in the conversion process.
Aspect Details Braking Power Disc brakes provide superior stopping power compared to rim brakes. Weather Performance Disc brakes perform better in wet and muddy conditions.
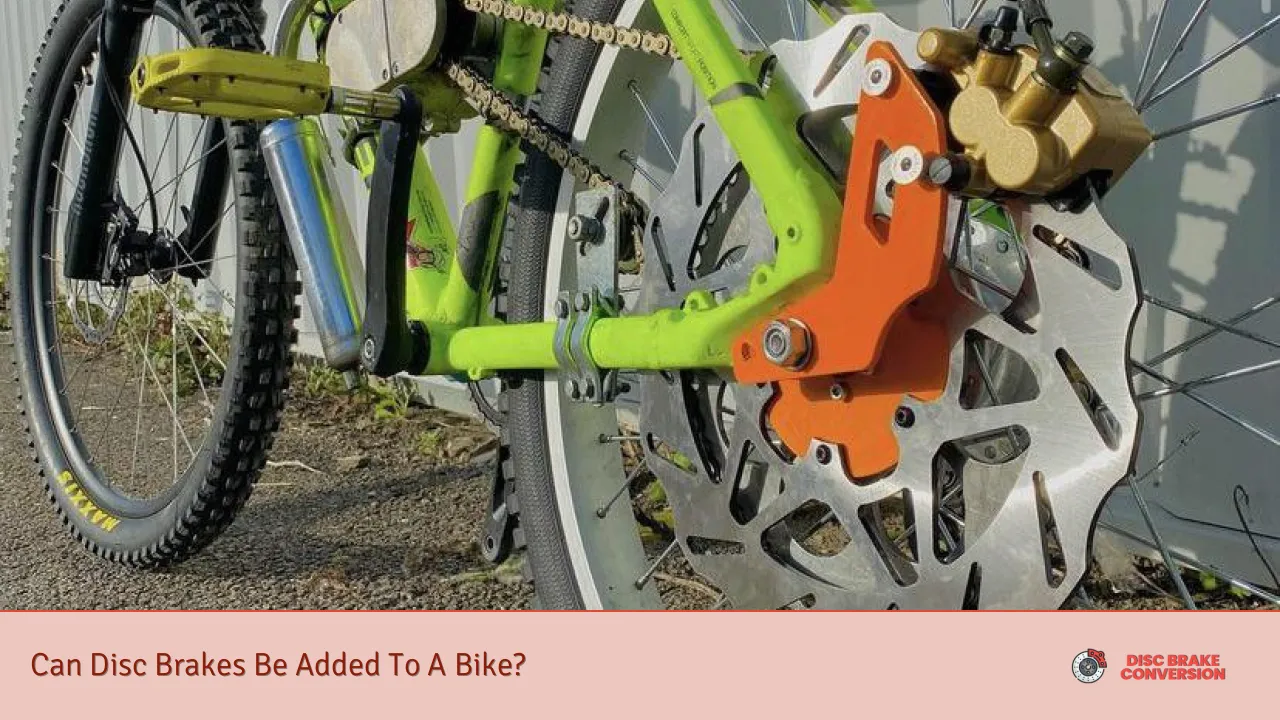
Understanding Disc Brakes
Disc brakes consist of a rotor attached to the wheel hub and a caliper that houses brake pads. When the brake lever is pulled, hydraulic or mechanical force pushes the pads against the rotor, creating friction that slows down or stops the bike. This system offers several advantages over traditional rim brakes:
- Greater Stopping Power: Disc brakes deliver more consistent and powerful braking, especially in adverse weather conditions.
- Better Modulation: Riders can control their braking force more precisely, reducing the risk of skidding.
- Less Wear on Tires: Unlike rim brakes that wear down the wheel rims over time, disc brakes do not contact the rims, prolonging their lifespan.
These benefits make disc brakes an attractive option for various cycling disciplines, including mountain biking, road cycling, and touring.
Assessing Compatibility
Before converting to disc brakes, it is crucial to assess whether your bike can accommodate this upgrade. Here are some key factors to consider:
- Frame Compatibility: The bike frame must have mounting points for disc brake calipers. Most modern frames are designed for either rim or disc brakes, but older models may not support disc brake installations.
- Fork Compatibility: Similar to the frame, the front fork must also have mounts for disc brake calipers. Ensure that your fork is rated for disc use.
- Wheel Compatibility: Standard wheels designed for rim brakes cannot accommodate disc rotors. You will need to replace your wheels with ones that have the necessary mounting points for rotors.
- Brake Lever Compatibility: If you are switching from rim brakes to mechanical disc brakes, you may need new brake levers that are compatible with this system. Hydraulic systems will require specific levers designed for hydraulic braking.
Components Needed for Conversion
To successfully convert your bike to use disc brakes, you will need several components:
- Disc Brake Calipers: Choose between mechanical or hydraulic calipers based on your preference and riding style.
- Brake Rotors: These come in various sizes (typically 160mm or 180mm) depending on your riding needs and bike specifications.
- New Wheels: Ensure they are compatible with disc rotors and have the correct mounting points.
- Brake Cables/Hoses: Depending on whether you choose mechanical or hydraulic systems, you will need appropriate cables or hoses.
- Brake Levers: If necessary, replace your current levers with ones compatible with your new braking system.
Steps to Install Disc Brakes
The installation process involves several steps, which can vary slightly based on your bike type and components. Here’s a general guide:
1. Remove Existing Brakes: Start by removing your current rim brakes and any associated cables or hardware from both the front and rear of the bike.
2. Install New Wheels: If you are using new wheels designed for disc brakes, install them onto your bike frame. Ensure they are secured properly.
3. Attach Brake Rotors: Mount the rotors onto the new wheels using the appropriate bolts. Tighten them securely but avoid overtightening which could warp the rotor.
4. Mount Calipers: Attach the disc brake calipers to their respective mounting points on the frame and fork. Make sure they align correctly with the rotors.
5. Connect Brake Cables/Hoses: For mechanical systems, run cables from the levers to the calipers. For hydraulic systems, connect hoses according to manufacturer instructions.
6. Install Brake Levers: If necessary, replace your old brake levers with new ones compatible with your disc brake system.
7. Adjust Calipers: Align the calipers so that they sit evenly over the rotor without rubbing against it when engaged. This may require adjusting their position slightly.
8. Test Braking System: Before taking your bike out on a ride, test the brakes by pulling the levers to ensure they engage properly and provide adequate stopping power.
Advantages of Converting to Disc Brakes
Converting to disc brakes offers numerous advantages that can enhance your cycling experience:
- Improved Safety: The enhanced stopping power allows for quicker stops in emergencies, especially in wet conditions where traditional rim brakes might fail.
- Versatility Across Conditions: Disc brakes perform well across various terrains and weather conditions, making them ideal for mountain biking or touring in unpredictable climates.
- Longer Component Lifespan: Since disc brakes do not wear down rims like traditional systems do, both tires and wheels tend to last longer with regular use of disc braking systems.
Disadvantages of Converting to Disc Brakes
While there are many benefits associated with switching to disc brakes, some disadvantages should also be considered:
- Cost of Conversion: The initial investment can be significant due to new wheels, rotors, calipers, and possibly new brake levers.
- Increased Weight: Disc brake systems typically weigh more than traditional rim brake setups due to additional components like rotors and calipers.
- Complex Maintenance: Hydraulic systems can be more complex to maintain than mechanical ones; bleeding hydraulic lines requires specific tools and knowledge.
FAQs About Can Disc Brakes Be Added To A Bike
- Can any bike be converted to use disc brakes?
No, only bikes with compatible frames and forks can be converted. - What tools do I need for installation?
You will need basic tools like Allen wrenches, a torque wrench, and possibly a bleed kit if using hydraulic brakes. - Is it worth upgrading from rim brakes?
Yes, if you ride in varied conditions or need better stopping power. - How much does it cost to convert?
The cost varies widely but can range from $200 to $600 depending on components. - Will I need new tires?
No, existing tires can usually be used unless they are incompatible with new wheel specifications.
Converting a bike from rim brakes to disc brakes is a feasible project that can greatly improve performance under various conditions. By understanding compatibility requirements and following proper installation procedures, cyclists can enjoy enhanced safety and control on their rides.