
Disc brakes are a crucial component of modern bicycles, providing superior stopping power and performance in various weather conditions. Many cyclists wonder if these brakes can be adjusted to maintain optimal functionality. The answer is a resounding yes – disc brakes can indeed be adjusted, and regular maintenance is essential for ensuring safe and efficient braking.
Disc brake adjustment is a relatively straightforward process that involves aligning the brake caliper, adjusting the brake pads, and fine-tuning the brake lever reach. These adjustments can significantly improve braking performance, reduce noise, and extend the lifespan of your brake components. Whether you’re a seasoned cyclist or a beginner, understanding how to adjust disc brakes is a valuable skill that can enhance your riding experience and safety.
| Adjustment Type | Purpose |
|---|---|
| Caliper Alignment | Ensures even pad contact with rotor |
| Pad Adjustment | Optimizes pad-to-rotor clearance |
| Lever Reach | Customizes brake engagement point |
Types of Disc Brake Adjustments
There are several types of adjustments you can make to disc brakes, each serving a specific purpose in optimizing brake performance. Understanding these adjustments is crucial for maintaining your bike’s braking system effectively.
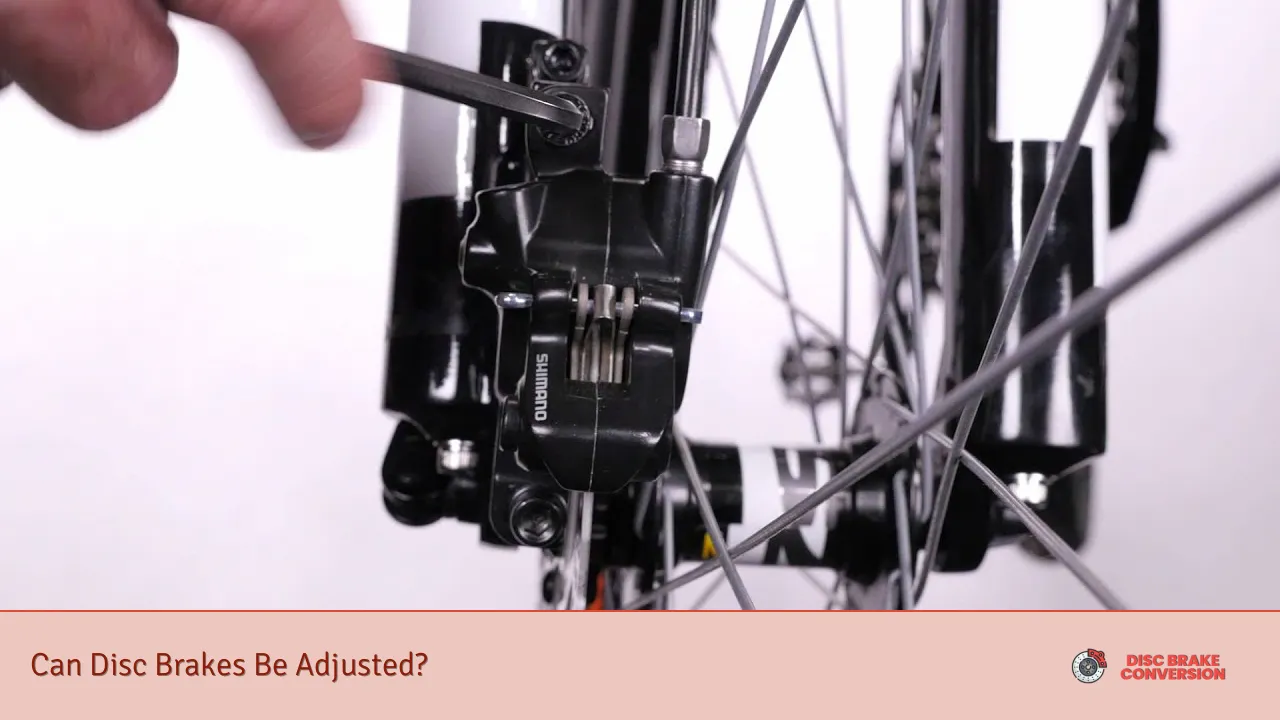
Caliper alignment is one of the most common adjustments. This process ensures that the brake caliper is perfectly centered over the rotor, allowing for even pad contact and preventing rubbing. To align the caliper, you typically need to loosen the mounting bolts, squeeze the brake lever to center the caliper, and then retighten the bolts while holding the lever.
Pad adjustment is another critical aspect of disc brake maintenance. As brake pads wear down over time, they need to be adjusted to maintain proper clearance with the rotor. Many disc brake systems feature a pad adjustment knob or screw that allows you to fine-tune this clearance. Proper pad adjustment ensures responsive braking and prevents unnecessary drag.
Lever reach adjustment is particularly important for riders with different hand sizes or preferences. This adjustment allows you to change the distance between the brake lever and the handlebar, ensuring comfortable and efficient braking. Most modern disc brake levers feature a small adjustment screw that enables you to customize the lever reach.
Hydraulic brake bleeding is a more advanced adjustment that involves removing air bubbles from the brake lines of hydraulic disc brake systems. While not a regular adjustment, bleeding is necessary when brakes feel spongy or unresponsive. This process requires specific tools and should be performed carefully to ensure optimal brake performance.
Rotor truing is sometimes necessary if your brake rotor becomes slightly bent or warped. Using a rotor truing tool, you can carefully straighten out minor bends in the rotor, eliminating brake rub and ensuring smooth operation.
Tools Needed for Disc Brake Adjustment
Before attempting to adjust your disc brakes, it’s essential to gather the necessary tools. Having the right equipment not only makes the job easier but also helps prevent damage to your brake components.
- Allen wrenches: A set of Allen wrenches is crucial for most disc brake adjustments. You’ll need various sizes to work with different bolts and screws on your brake system.
- Torque wrench: This tool is essential for tightening bolts to the correct specifications, preventing over-tightening that could damage components.
- Flathead screwdriver: Useful for fine-tuning pad adjustments on some brake models.
- Brake cleaner: A specialized cleaner helps remove dirt, oil, and other contaminants from your brake components.
- Clean rags: These are necessary for wiping down components and keeping your work area clean.
- Rotor truing tool: If your rotor needs straightening, this specialized tool is invaluable.
- Hydraulic brake bleed kit: For hydraulic disc brakes, a bleed kit is essential for removing air from the system.
Safety equipment is also crucial when working on your bike’s brakes. Always wear safety glasses to protect your eyes from debris, and consider using gloves to keep your hands clean and protected from sharp edges.
It’s important to note that while many basic adjustments can be performed at home, some more complex procedures, such as hydraulic brake bleeding, may require professional assistance if you’re not confident in your skills. Always consult your brake manufacturer’s guidelines and your bike’s manual before making any adjustments.
Step-by-Step Guide to Adjusting Disc Brakes
Adjusting disc brakes can seem daunting at first, but with the right approach, it’s a manageable task for most cyclists. Here’s a step-by-step guide to help you through the process:
1. Inspect your brakes: Before making any adjustments, carefully examine your brake system. Look for signs of wear on the pads, check the rotor for warping or damage, and ensure all bolts are tight.
2. Clean the components: Use brake cleaner and a clean rag to remove any dirt or debris from the rotor and caliper. This ensures accurate adjustments and prevents contamination of the brake pads.
3. Align the caliper: Loosen the caliper mounting bolts slightly. Squeeze the brake lever to center the caliper over the rotor. While holding the lever, retighten the mounting bolts to the specified torque.
4. Adjust pad clearance: If your brakes have a pad adjustment mechanism, use it to fine-tune the distance between the pads and the rotor. Aim for a small, even gap on both sides of the rotor.
5. Set lever reach: If needed, adjust the lever reach using the adjustment screw on the lever body. This ensures comfortable and effective braking for your hand size.
6. Test the brakes: Spin the wheel and apply the brakes to check for proper function. Listen for any rubbing sounds and observe the wheel’s rotation for signs of drag.
7. Fine-tune as necessary: Make small adjustments and retest until you achieve optimal performance without any rubbing or excessive lever travel.
Remember, patience is key when adjusting disc brakes. Take your time and make small, incremental changes. If you’re unsure about any step, don’t hesitate to seek help from a professional bike mechanic.
Common Disc Brake Problems and Solutions
Even with regular maintenance, disc brakes can sometimes develop issues. Recognizing common problems and knowing how to address them can save you time and ensure your brakes remain in top condition.
Brake rub is one of the most frequent complaints among disc brake users. This occurs when the brake pads contact the rotor even when the lever isn’t engaged. To fix this:
- Check caliper alignment and adjust if necessary.
- Inspect the rotor for warping and true it if needed.
- Ensure the wheel is properly seated in the dropouts.
Squealing brakes can be annoying and often indicate contaminated pads or rotors. To address this issue:
- Clean the rotor with brake cleaner.
- If cleaning doesn’t help, replace the brake pads.
- In severe cases, you may need to replace or resurface the rotor.
Spongy brake feel is common in hydraulic systems and usually indicates air in the brake lines. The solution is to bleed the brakes, removing any air bubbles from the system. This process can be complex and may require professional assistance if you’re not experienced.
Inconsistent braking power can be caused by glazed or contaminated brake pads. Try sanding the pad surface lightly with fine-grit sandpaper. If this doesn’t help, replacing the pads may be necessary.
Excessive lever travel before the brakes engage often indicates worn pads or air in the system. Check pad thickness and replace if necessary. For hydraulic systems, bleeding the brakes may resolve the issue.
Remember, if you’re unsure about diagnosing or fixing a brake problem, it’s always best to consult a professional bike mechanic. Proper brake function is crucial for your safety on the road or trail.
FAQs About Can Disc Brakes Be Adjusted
- How often should I adjust my disc brakes?
Adjust your disc brakes every 3-6 months or when you notice changes in performance. - Can I adjust disc brakes without special tools?
Basic adjustments can be made with Allen wrenches, but specialized tools may be needed for advanced maintenance. - Is it normal for new disc brakes to require adjustment?
Yes, new disc brakes often need a break-in period and may require minor adjustments after initial use. - Can weather affect disc brake performance?
Yes, extreme temperatures and moisture can impact brake performance, potentially requiring adjustments. - Should I adjust both front and rear disc brakes?
Yes, both front and rear brakes should be adjusted to ensure balanced and effective braking.