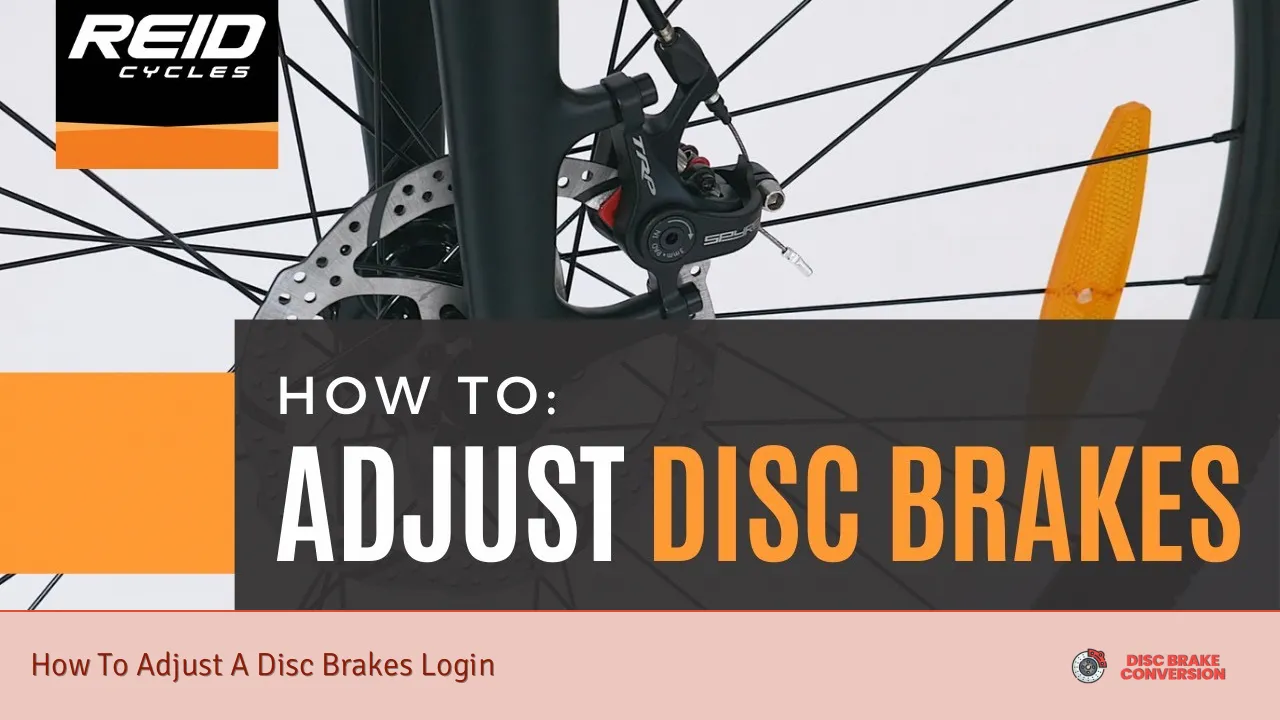
Adjusting disc brakes is an essential skill for any cyclist, ensuring safety and optimal performance. When disc brakes are not functioning correctly, they can cause issues such as rubbing, uneven wear on brake pads, or reduced stopping power. This guide will provide a comprehensive overview of how to adjust disc brakes effectively, covering various techniques and tips to ensure your brakes are in top condition.
Step Description 1 Assess the brake condition and gather tools. 2 Loosen caliper bolts to allow movement. 3 Center the caliper by pulling the brake lever. 4 Tighten caliper bolts while holding the brake lever. 5 Check wheel rotation for smoothness.
Understanding Disc Brakes
Disc brakes consist of a rotor attached to the wheel hub and a caliper that houses the brake pads. When the brake lever is pulled, hydraulic fluid or cable tension pushes the brake pads against the rotor, creating friction that slows down or stops the bike. Proper adjustment of these components is crucial for effective braking performance.
The most common issues with disc brakes include:
- Rubbing pads against the rotor
- Uneven pad wear
- Insufficient braking power
These problems often arise from misalignment of the caliper or incorrect cable tension. Understanding how to adjust these components can enhance your riding experience and ensure safety.
Tools Needed for Adjustment
Before starting the adjustment process, gather the following tools:
- Allen wrenches (typically 4mm, 5mm, or 6mm)
- Torque wrench
- Rubber band or strong tape
- Stiff card (like an old business card)
These tools will help you make precise adjustments and ensure that your brakes function correctly.
Step-by-Step Guide to Adjusting Disc Brakes
Step 1: Assess Brake Condition
Begin by inspecting your disc brakes. Check for any visible signs of wear on the brake pads and ensure that the rotor is not bent or damaged. If either component shows significant wear, consider replacing them before proceeding with adjustments.
Step 2: Loosen Caliper Bolts
Using an appropriate Allen wrench, loosen the two bolts that secure the caliper to the frame or fork. Loosening these bolts will allow you to reposition the caliper for proper alignment with the rotor.
Step 3: Center the Caliper
To center the caliper, pull the brake lever firmly while keeping it held. This action will cause the caliper to self-center around the rotor. It is essential to maintain pressure on the brake lever during this step to ensure accurate alignment.
Step 4: Tighten Caliper Bolts
While still holding the brake lever, carefully tighten the caliper bolts back into place. Use a torque wrench to ensure that you apply the correct amount of force as specified by your brake manufacturer. This step is crucial; if you do not hold the brake lever while tightening, it may cause misalignment.
Step 5: Check Wheel Rotation
Release the brake lever and spin the wheel to check if it rotates smoothly without rubbing against the brake pads. If you hear any rubbing noises or feel resistance, repeat steps 2 through 4 until you achieve a free-spinning wheel.
Additional Adjustments
In addition to aligning the caliper, you may need to make further adjustments depending on your specific braking system.
Lever Reach Adjustment
Many modern disc brakes allow for lever reach adjustment, which changes how far your fingers need to stretch to engage the brakes. This adjustment can enhance comfort and control while riding. To adjust:
- Locate the reach adjustment screw on your brake lever.
- Turn it clockwise to shorten reach or counterclockwise to lengthen it.
- Test by pulling the lever and ensuring it feels comfortable.
Bite Point Adjustment
The bite point refers to how far you need to pull the lever before it engages with the rotor. If your brakes engage too late or too soon, adjust this setting:
- Locate any barrel adjusters on your brake system.
- Turn them in small increments until you find a comfortable bite point where braking feels responsive without excessive travel.
Common Issues and Troubleshooting
Even after adjustments, you may encounter some common issues with disc brakes:
- Brake rub: If you still experience rubbing after adjustments, check if your rotor is straight. A bent rotor may require realignment or replacement.
- Uneven pad wear: This can indicate misalignment of the caliper or issues with hydraulic fluid levels in hydraulic systems. Regularly inspect and adjust as needed.
- Soft braking: If your brakes feel spongy or unresponsive, it may be time for a bleed if using hydraulic brakes or check cable tension for mechanical systems.
Maintenance Tips for Disc Brakes
To keep your disc brakes functioning optimally over time:
- Regularly inspect brake pads for wear and replace them when necessary.
- Clean rotors and pads with isopropyl alcohol to remove contaminants that can affect performance.
- Ensure that all bolts are tightened to manufacturer specifications after adjustments.
FAQs About How To Adjust A Disc Brakes Login
- How often should I adjust my disc brakes?
Adjustments should be made whenever you notice rubbing or decreased braking performance. - Can I adjust my disc brakes without special tools?
A basic set of Allen wrenches is usually sufficient for most adjustments. - What if my rotor is bent?
A bent rotor may need straightening with a rotor truing tool or replacement if severely damaged. - Are hydraulic disc brakes easier to adjust than mechanical ones?
Hydraulic systems typically self-adjust but may require bleeding; mechanical systems need more frequent manual adjustments. - Can I do these adjustments myself?
Yes, with basic tools and knowledge, most cyclists can successfully adjust their disc brakes.
Properly adjusting your disc brakes not only enhances safety but also improves overall riding experience. By following these steps and maintaining regular checks, you can ensure that your bike’s braking system remains reliable and efficient.

