
Adjusting the disc brakes on your bicycle is essential for maintaining optimal performance and safety. Disc brakes provide superior stopping power and modulation compared to traditional rim brakes, but they require occasional adjustments to ensure they function correctly. Over time, factors such as pad wear, misalignment, and dirt accumulation can cause the brakes to rub against the rotor, which can lead to decreased efficiency and increased wear on components.
In this guide, we will walk you through the steps necessary to adjust your bicycle’s disc brakes. Whether you are a seasoned cyclist or a beginner, these instructions will help you achieve a smooth and efficient braking experience.
| Step | Description |
|---|---|
| 1 | Remove the wheel to access the brake pads. |
| 2 | Check the alignment of the caliper with the rotor. |
| 3 | Adjust the caliper position if necessary. |
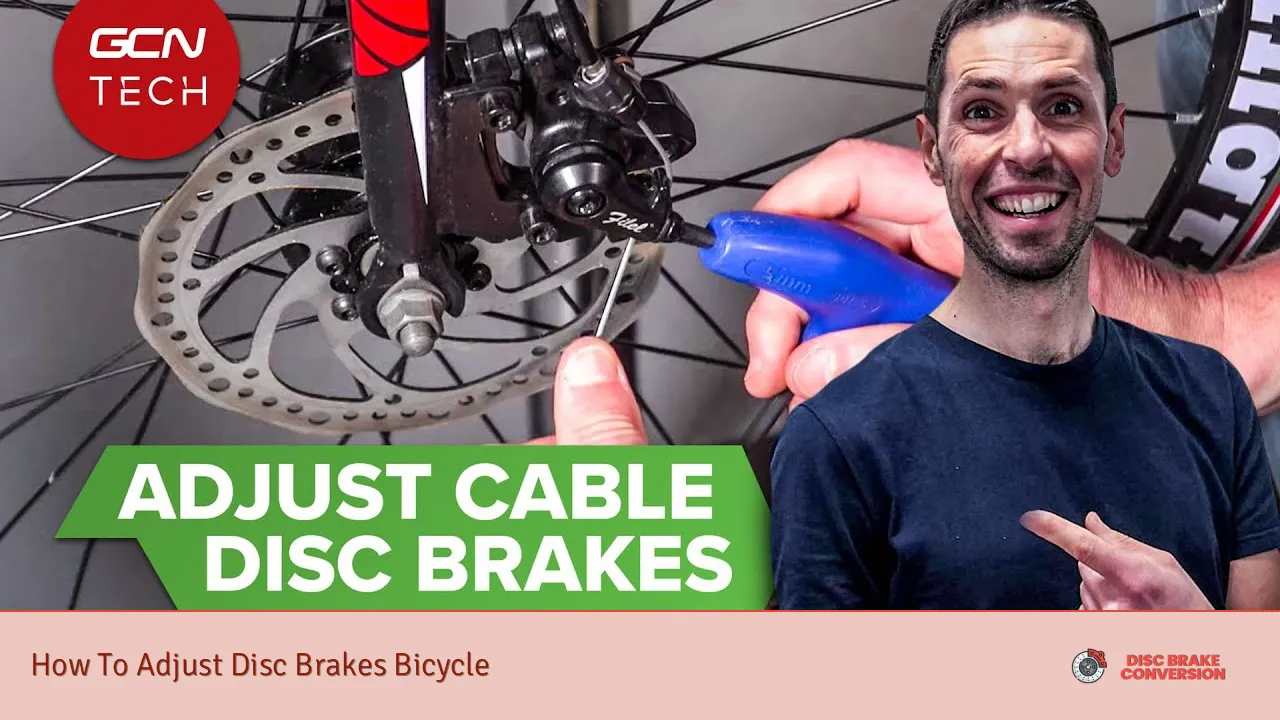
| 4 | Ensure proper pad clearance from the rotor. |
| 5 | Test the brakes for proper function. |
Understanding Your Disc Brake System
Before diving into adjustments, it’s important to familiarize yourself with the components of your disc brake system. The main parts include:
- Brake Pads: These are the friction materials that press against the rotor to slow down or stop your bike.
- Caliper: This houses the brake pads and is responsible for applying pressure to them when you pull the brake lever.
- Rotor: A metal disc attached to your wheel that the brake pads clamp onto.
- Adjustment Screws: These screws allow you to fine-tune the position of the brake pads relative to the rotor.
Understanding these components will make it easier to follow along with the adjustment process.
Step-by-Step Guide to Adjusting Disc Brakes
Step 1: Remove the Wheel
To begin adjusting your disc brakes, first remove the wheel from your bicycle. This is typically done by loosening the quick-release lever or unscrewing the axle nuts. Once removed, place your bike in a stable position where you can easily access the brake components.
Step 2: Inspect Brake Pads and Rotor
With the wheel off, inspect both brake pads and the rotor for any signs of wear or damage. If either component appears worn out, consider replacing them before making adjustments. Clean any debris or dirt from the rotor using a suitable cleaner.
Step 3: Check Caliper Alignment
Next, check if your caliper is properly aligned with the rotor. To do this:
- Loosen the caliper mounting bolts slightly using an Allen wrench.
- Spin the wheel slowly while observing how it interacts with the caliper.
- If you notice that one pad is closer to the rotor than the other, it indicates misalignment.
Step 4: Adjust Caliper Position
To adjust the caliper position:
- While holding down the brake lever (this centers the caliper), retighten the caliper bolts carefully.
- Ensure that both pads are equidistant from either side of the rotor.
- If necessary, repeat this process until you achieve proper alignment.
Step 5: Adjust Pad Clearance
After aligning your caliper, check for adequate clearance between each pad and rotor. You want a small gap that allows for smooth rotation without rubbing. Use an adjustment screw on each side of the caliper if available:
- Turn counter-clockwise to increase clearance.
- Turn clockwise to decrease clearance.
Step 6: Test Brake Functionality
Once adjustments are complete, reattach your wheel and test your brakes by squeezing them gently while spinning the wheel. Ensure that there is no rubbing noise and that braking feels responsive. If any rubbing persists, revisit previous steps for further adjustments.
Common Issues and Troubleshooting
Rubbing Brake Pads
If you experience rubbing after adjustments, consider these troubleshooting tips:
- Check Rotor Alignment: Ensure that your rotor is not bent. A bent rotor can cause uneven contact with brake pads.
- Inspect Brake Pads: Worn or unevenly worn pads can lead to poor contact with rotors.
- Recheck Caliper Alignment: Misalignment may require further adjustment.
Soft Brake Lever Feel
If your brake lever feels soft or spongy:
- Check for air in hydraulic lines (if applicable) and bleed brakes if necessary.
- Ensure that all components are securely tightened.
Uneven Pad Wear
Uneven wear on brake pads might indicate misalignment or issues with hydraulic systems in hydraulic disc brakes. Regularly check alignment and adjust as needed.
Maintenance Tips for Disc Brakes
To keep your disc brakes in top condition, follow these maintenance tips:
- Regularly clean rotors with appropriate cleaners.
- Inspect pads for wear every few rides.
- Keep cables (for mechanical systems) lubricated and free of debris.
- Store your bike in a dry place to prevent rust on components.
FAQs About How To Adjust Disc Brakes Bicycle
- How often should I adjust my disc brakes?
Adjustments should be made whenever you notice rubbing or decreased braking performance. - Can I adjust my disc brakes without removing my wheel?
While possible, it’s easier and more effective to remove the wheel for proper access. - What tools do I need for adjusting disc brakes?
You typically need an Allen wrench set and possibly a torque wrench for precise tightening. - How do I know if my rotors need replacing?
If rotors are significantly worn or warped beyond repair, they should be replaced. - Can I use any cleaner on my brake rotors?
No, use only specific brake cleaners designed for this purpose to avoid contamination.
By following these steps and guidelines, you can effectively adjust your bicycle’s disc brakes for optimal performance. Regular maintenance will not only enhance your riding experience but also ensure your safety on every ride.