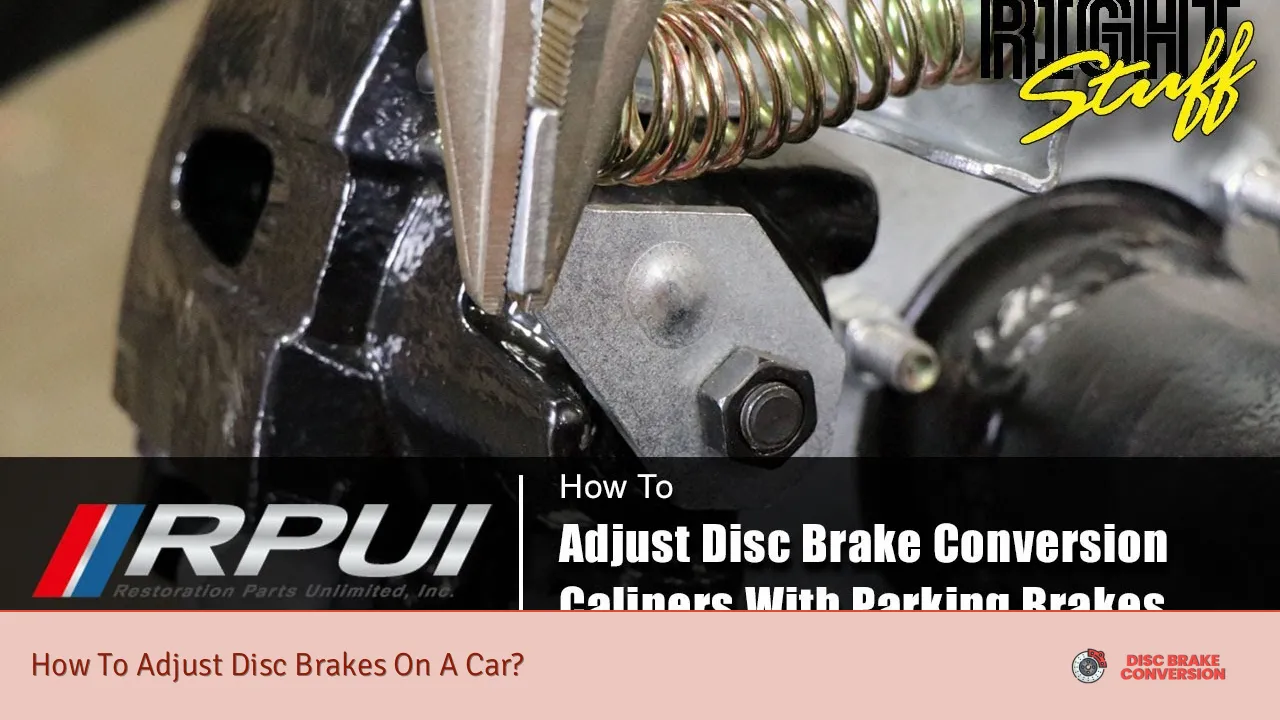
Adjusting disc brakes on a car is an essential maintenance task that ensures optimal braking performance and safety. Properly adjusted disc brakes provide better stopping power, reduce wear on brake components, and enhance overall driving experience. This guide will walk you through the process of adjusting disc brakes on your car, covering the necessary tools, steps, and precautions to take.
Disc brakes are the most common type of braking system found in modern vehicles. They consist of a rotor, caliper, and brake pads. Unlike drum brakes, disc brakes are generally self-adjusting, but they may still require occasional manual adjustment to maintain peak performance.
Before we dive into the adjustment process, let’s take a look at the key components of a disc brake system:
| Component | Function |
|---|---|
| Rotor | Rotating disc attached to the wheel hub |
| Caliper | Houses the brake pads and pistons |
| Brake Pads | Friction material that presses against the rotor |
| Pistons | Push the brake pads against the rotor |
Tools and Materials Needed
Before you begin adjusting your car’s disc brakes, gather the following tools and materials:
- Jack and jack stands
- Lug wrench
- C-clamp or brake caliper piston tool
- Wrench set (including a torque wrench)
- Flathead screwdriver
- Brake cleaner
- Clean rags
- Safety glasses
- Work gloves
It’s crucial to have the right tools for the job to ensure a safe and effective brake adjustment. Using improper tools can lead to damage to brake components or incomplete adjustments, compromising your vehicle’s safety.
Safety Precautions
Before starting any work on your car’s braking system, it’s essential to prioritize safety. Follow these precautions:
- Park your car on a flat, level surface
- Engage the parking brake
- Chock the wheels that will remain on the ground
- Wear safety glasses and work gloves
- Never work under a car supported only by a jack – always use jack stands
- Allow the brakes to cool completely before working on them
- Avoid inhaling brake dust, which can be harmful to your health
Remember, brake work is critical to your vehicle’s safety. If you’re unsure about any step in the process, it’s best to consult a professional mechanic.
Step-by-Step Brake Adjustment Process
Follow these steps to adjust the disc brakes on your car:
1. Prepare the Vehicle
- Loosen the lug nuts on the wheel you’ll be working on
- Jack up the car and secure it on jack stands
- Remove the wheel to access the brake assembly
2. Inspect the Brake Components
- Check the rotor for signs of wear, scoring, or warping
- Inspect the brake pads for thickness (should be at least 1/4 inch)
- Look for any leaks or damage to the caliper
3. Clean the Brake Assembly
- Use brake cleaner to remove dirt, dust, and debris from the caliper and rotor
- Wipe down all components with a clean rag
4. Adjust the Caliper
- Locate the caliper adjustment mechanism (usually a star wheel or adjuster screw)
- Use a flathead screwdriver to turn the adjuster
- Rotate the adjuster until the brake pads make light contact with the rotor
- Back off the adjuster slightly to ensure the pads don’t drag
5. Check Pad-to-Rotor Clearance
- Spin the rotor by hand
- Listen for any scraping or dragging sounds
- Adjust further if necessary to achieve proper clearance
6. Repeat for Other Wheels
- Follow the same process for the remaining wheels on your vehicle
7. Test the Brakes
- Reinstall the wheels and lower the car
- Pump the brake pedal several times to restore proper pressure
- Test drive the vehicle in a safe area to ensure proper brake function
Common Issues and Troubleshooting
During the adjustment process, you may encounter some common issues. Here’s how to address them:
- Uneven pad wear: This could indicate a stuck caliper piston or worn suspension components. Inspect and replace as necessary.
- Brake pedal feels spongy: This may be a sign of air in the brake lines. Bleed the brakes to remove any air.
- Squealing or grinding noises: These sounds often indicate worn brake pads or rotors. Replace these components if they’re beyond their service limit.
- Brake pull: If the car pulls to one side when braking, it could be due to uneven brake pad wear or a stuck caliper. Inspect and repair as needed.
Maintenance Tips for Disc Brakes
To keep your disc brakes in optimal condition, follow these maintenance tips:
- Regularly inspect brake pads and rotors for wear
- Clean brake components during routine maintenance
- Replace brake fluid every 2 years or 30,000 miles, whichever comes first
- Address any brake issues promptly to prevent further damage
- Avoid “riding” the brakes, which can cause premature wear
By following these guidelines and performing regular maintenance, you can ensure that your car’s disc brakes remain in top condition, providing reliable stopping power when you need it most.
FAQs About How To Adjust Disc Brakes On A Car
- How often should I adjust my car’s disc brakes?
Most modern disc brakes are self-adjusting and rarely need manual adjustment. However, inspect them every 12,000 miles or annually. - Can I adjust disc brakes without removing the wheel?
While possible in some cases, it’s generally recommended to remove the wheel for better access and more thorough inspection. - What are signs that my disc brakes need adjustment?
Signs include a soft brake pedal, increased stopping distance, or uneven braking performance. - Is it necessary to adjust both front and rear disc brakes?
Yes, it’s best to adjust all disc brakes to ensure balanced braking performance across the vehicle. - Can I adjust disc brakes if I have limited mechanical experience?
While possible, it’s recommended to have a professional perform brake adjustments if you’re unsure about the process.

