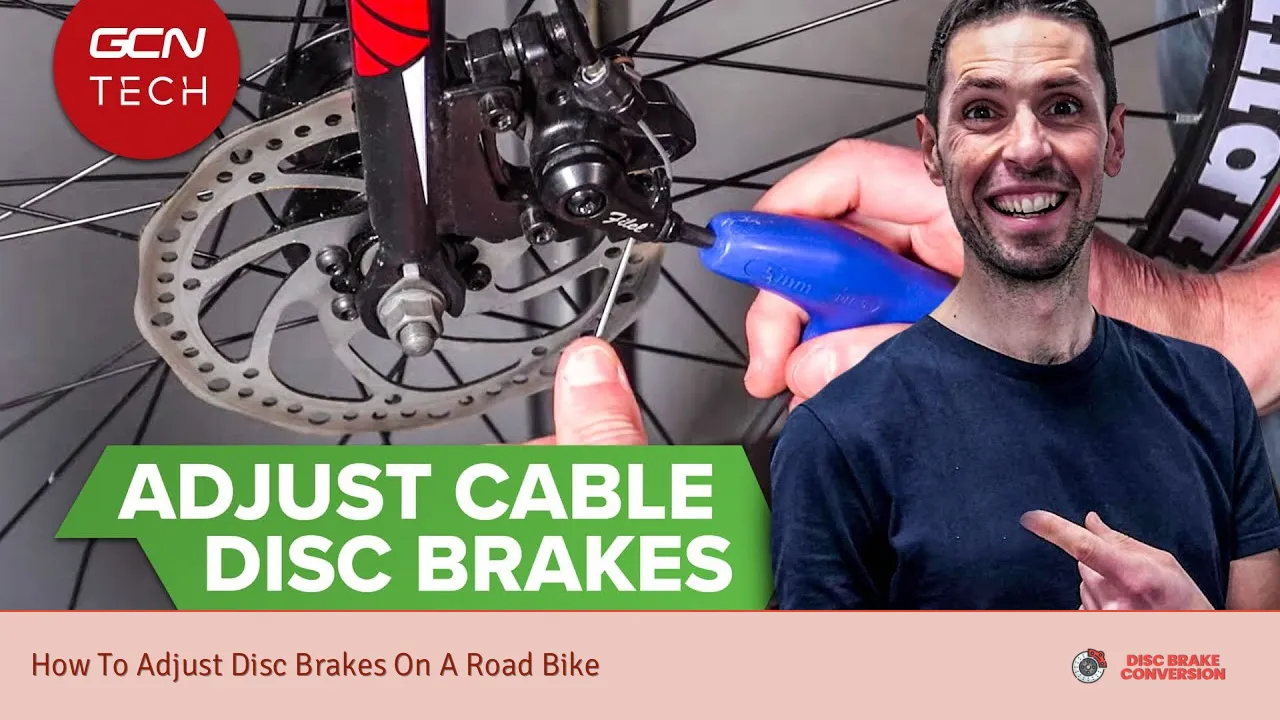
Disc brakes have become increasingly popular on road bikes due to their superior stopping power and performance in various weather conditions. Properly adjusted disc brakes are crucial for optimal bike safety and control. This guide will walk you through the process of adjusting disc brakes on your road bike, ensuring you can maintain your braking system effectively.
Disc brakes consist of a rotor attached to the wheel hub and a caliper mounted on the frame or fork. The caliper houses the brake pads, which clamp onto the rotor when you squeeze the brake lever. Over time, these components may need adjustment to maintain peak performance.
| Component | Function |
|---|---|
| Rotor | Spinning disc attached to wheel hub |
| Caliper | Houses brake pads and clamps onto rotor |
| Brake pads | Friction material that contacts rotor |
| Brake lever | Activates braking mechanism |
Tools and Preparation
Before you begin adjusting your disc brakes, gather the necessary tools and prepare your workspace. You’ll need:
- Allen wrenches (typically 4mm and 5mm)
- Torque wrench
- Clean rags
- Isopropyl alcohol
- Disc brake cleaner (optional)
Ensure your bike is secured in a work stand or flipped upside down on a stable surface. Clean the brake rotors with isopropyl alcohol or disc brake cleaner to remove any contaminants that could affect braking performance.
Adjusting Mechanical Disc Brakes
Mechanical disc brakes use a cable system similar to traditional rim brakes. They’re easier to adjust but may require more frequent maintenance than hydraulic systems.
Aligning the Caliper
1. Loosen the two bolts that secure the caliper to the frame or fork.
2. Squeeze the brake lever firmly to center the caliper over the rotor.
3. While holding the lever, tighten the caliper bolts alternately and evenly.
4. Release the lever and spin the wheel to check for rubbing.
5. If necessary, make fine adjustments by slightly loosening the bolts and realigning the caliper.
Adjusting Cable Tension
1. Locate the barrel adjuster on the brake lever or caliper.
2. Turn the barrel adjuster counterclockwise to increase cable tension (moving the pads closer to the rotor).
3. Turn it clockwise to decrease tension (moving the pads away from the rotor).
4. Aim for a small gap between the pads and rotor when the brake is not engaged.
Setting Pad Distance
1. Find the pad adjustment screw on the caliper (usually on the side that doesn’t move).
2. Turn the screw clockwise to move the stationary pad closer to the rotor.
3. Adjust until there’s a small, even gap on both sides of the rotor.
Adjusting Hydraulic Disc Brakes
Hydraulic disc brakes offer more consistent performance and require less frequent adjustment than mechanical systems. However, when they do need attention, the process is slightly different.
Realigning the Caliper
1. Loosen the caliper mounting bolts until the caliper can move freely.
2. Squeeze the brake lever firmly to center the caliper over the rotor.
3. While holding the lever, tighten the mounting bolts to the manufacturer’s specified torque.
4. Release the lever and spin the wheel to check for rubbing.
Adjusting Lever Reach
1. Locate the reach adjustment screw on your brake lever.
2. Turn the screw clockwise to move the lever closer to the handlebar.
3. Turn it counterclockwise to move the lever further from the handlebar.
4. Adjust to your preferred hand position for comfortable braking.
Setting the Bite Point
1. Find the bite point adjustment screw on your brake lever (if available).
2. Turn the screw clockwise to make the brake engage earlier in the lever stroke.
3. Turn it counterclockwise to make the brake engage later in the lever stroke.
4. Adjust to your preferred feel for optimal control.
Maintaining Disc Brake Performance
Regular maintenance is key to keeping your disc brakes functioning properly:
- Clean rotors regularly with isopropyl alcohol to remove dirt and oil.
- Inspect brake pads for wear and replace when necessary.
- Bleed hydraulic systems annually or as recommended by the manufacturer.
- Check for rotor trueness and straighten or replace if bent.
Bedding in New Brake Pads
When installing new brake pads, it’s crucial to bed them in properly:
1. Find a safe, traffic-free area with a gentle slope.
2. Accelerate to a moderate speed (about 20 mph).
3. Brake firmly to slow down to walking speed without stopping completely.
4. Repeat this process 20-30 times to transfer pad material to the rotor.
This process improves braking performance and reduces noise.
Troubleshooting Common Issues
Even with proper adjustment, you may encounter some common disc brake problems:
- Squealing brakes: Clean rotors and pads, check for contamination, and ensure proper alignment.
- Spongy feel: Bleed hydraulic systems or adjust cable tension for mechanical brakes.
- Inconsistent braking: Inspect pads for uneven wear and check rotor for warping.
- Dragging brakes: Realign caliper and adjust pad clearance.
Remember, if you’re unsure about any aspect of brake adjustment or encounter persistent issues, it’s best to consult a professional bike mechanic. Properly functioning brakes are critical for your safety on the road.
FAQs About How To Adjust Disc Brakes On A Road Bike
- How often should I adjust my road bike’s disc brakes?
Adjust them when you notice reduced braking power or hear unusual noises. - Can I use household cleaners on my disc brake rotors?
No, use only isopropyl alcohol or specific disc brake cleaners to avoid contamination. - Is it normal for new disc brakes to make noise?
Some noise is normal initially, but it should diminish after properly bedding in the pads. - How do I know when to replace my disc brake pads?
Replace them when the pad material is less than 1mm thick or if you see uneven wear. - Can I adjust disc brakes without removing the wheel?
Yes, most adjustments can be made with the wheel in place, but removal may be necessary for some maintenance tasks.

