
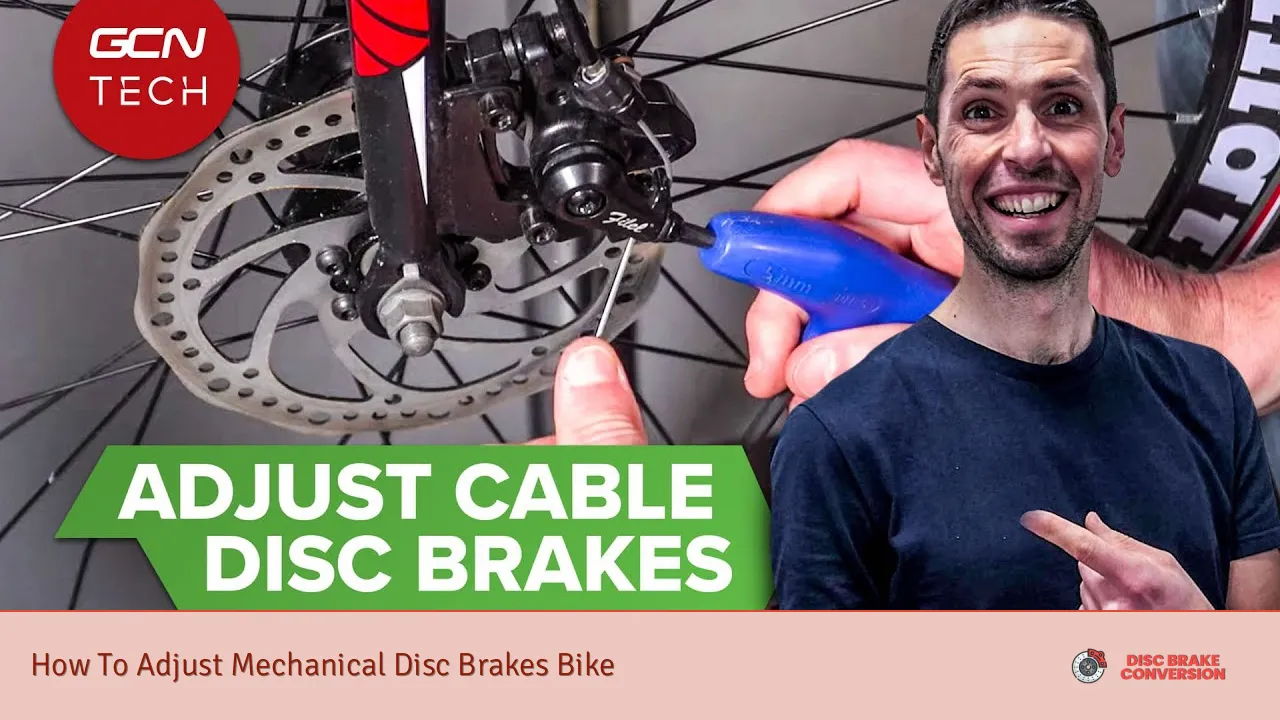
Adjusting mechanical disc brakes on a bike is an essential skill for cyclists to ensure safety and optimal performance. Mechanical disc brakes use a cable to actuate the brake pads against the rotor, providing strong stopping power. However, over time, these brakes may require adjustments due to wear and tear or changes in cable tension. This guide provides a comprehensive overview of how to adjust mechanical disc brakes effectively.
Step Description 1 Gather necessary tools such as hex keys and screwdrivers. 2 Inspect brake pads and cables for wear. 3 Adjust cable tension using the barrel adjuster. 4 Center the caliper over the rotor. 5 Test the brake lever feel and make final adjustments.
Understanding Mechanical Disc Brakes
Mechanical disc brakes consist of several components including the brake lever, cable, caliper, and brake pads. When you pull the brake lever, it pulls a cable that moves the caliper, pressing the pads against the rotor. This creates friction that slows down or stops the bike.
Over time, factors such as pad wear, cable stretch, and misalignment can affect braking performance. Therefore, regular adjustments are necessary to maintain safe and effective braking. Properly adjusted brakes not only enhance performance but also increase safety while riding.
Tools Required for Adjustment
Before starting the adjustment process, gather the necessary tools to ensure a smooth experience:
- Hex keys (usually 5mm)
- Phillips-head screwdriver
- Flat wrenches
- Torque wrench (optional)
Having these tools at hand will facilitate the adjustment process and help you avoid any unnecessary delays.
Step-by-Step Guide to Adjusting Mechanical Disc Brakes
Step 1: Inspect the Brake System
Begin by inspecting your mechanical disc brake system. Check the condition of the brake pads for wear or contamination. Worn-out pads should be replaced to ensure effective braking. Also, inspect the brake cables for fraying or damage; if they are compromised, replace them.
Step 2: Adjust Cable Tension
Next, locate the barrel adjuster, which is typically found at both the brake lever and caliper.
- To increase tension: Turn the barrel adjuster clockwise.
- To decrease tension: Turn it counterclockwise.
This adjustment helps set how far the brake lever travels before engaging the brakes. If you find that your lever pulls too close to the handlebar before braking occurs, increase tension.
Step 3: Centering the Caliper
A crucial step in adjusting mechanical disc brakes is ensuring that the caliper is centered over the rotor:
1. Loosen the two caliper mounting bolts slightly using a hex key.
2. Pull the brake lever firmly to push the pads against the rotor.
3. While holding the lever, tighten both caliper bolts alternately until secure.
This method ensures that the caliper aligns correctly with no rubbing against either side of the rotor.
Step 4: Adjusting Brake Pads
After centering, check if both pads are positioned correctly relative to the rotor:
- The moving pad should be close but not touching when disengaged.
- The stationary pad can be adjusted using an inner pad adjuster screw if available.
If necessary, turn this screw to bring it closer or further from the rotor until you achieve a good balance without rubbing.
Step 5: Test Brake Feel
Once adjustments are made:
1. Spin the wheel to ensure there is no rubbing.
2. Squeeze the brake lever to check for proper engagement; it should feel firm before reaching the handlebar.
3. If adjustments need further refinement, repeat steps as necessary.
Testing ensures that your mechanical disc brakes are functioning correctly and safely before hitting the road.
Common Issues and Troubleshooting
While adjusting mechanical disc brakes, you may encounter some common issues:
- Brake rub: If you hear rubbing noises while spinning your wheel, it indicates misalignment or incorrect pad spacing.
- Soft lever feel: If your brake lever feels soft or pulls too close to your handlebar, increase cable tension using barrel adjusters.
- Uneven braking: If one side engages more than another, recheck caliper alignment and pad positioning.
Addressing these issues promptly will help maintain optimal braking performance.
Maintenance Tips for Mechanical Disc Brakes
To prolong the life of your mechanical disc brakes and ensure they function efficiently:
- Regularly inspect brake pads for wear and replace them as needed.
- Clean rotors with isopropyl alcohol to remove any contaminants that may affect braking performance.
- Check cable tension periodically and make adjustments as necessary.
Maintaining these components will enhance your cycling experience and ensure safety on every ride.
FAQs About How To Adjust Mechanical Disc Brakes Bike
- How often should I adjust my mechanical disc brakes?
Adjust your brakes whenever you notice decreased performance or after replacing worn pads. - Can I adjust my disc brakes without special tools?
You can perform basic adjustments with common tools like hex keys and screwdrivers. - What should I do if my brake lever pulls all the way to the handlebar?
This usually indicates too much slack in your cable; increase tension using barrel adjusters. - Is it safe to ride with rubbing brakes?
No, riding with rubbing brakes can lead to increased wear on components and reduced braking efficiency. - What type of maintenance do mechanical disc brakes require?
Regular inspections of pads and cables along with cleaning rotors are essential maintenance tasks.
Adjusting mechanical disc brakes may seem daunting at first, but with practice and attention to detail, it becomes an essential skill every cyclist should master. Following this guide will help ensure a safe riding experience while maximizing your bike’s braking performance.