
Adjusting rear disc brakes is essential for ensuring optimal performance and safety while riding. Properly adjusted brakes can enhance braking efficiency, reduce wear on brake components, and provide a smoother riding experience. This guide will walk you through the necessary steps to adjust rear disc brakes effectively.
When adjusting rear disc brakes, it is crucial to understand the components involved and the tools required. The main components include the brake caliper, brake pads, and rotor. The adjustment process typically involves aligning the brake caliper with the rotor and ensuring that the brake pads are positioned correctly to avoid rubbing against the rotor.
The following table outlines some common tools needed for adjusting rear disc brakes:
| Tool | Purpose |
|---|---|
| Allen Wrench Set | To loosen and tighten caliper bolts |
| Torque Wrench | To ensure proper tightening of bolts |
| Spacer Gauge | To measure pad clearance from rotor |
Understanding Rear Disc Brakes
Rear disc brakes consist of a rotor attached to the wheel hub and a caliper that houses the brake pads. When the brake lever is pulled, hydraulic or mechanical force pushes the brake pads against the rotor, creating friction that slows down or stops the bike. Over time, adjustments may be necessary due to wear or misalignment.
Important info: Regular maintenance of your disc brakes can prevent issues such as uneven wear and reduced braking power.
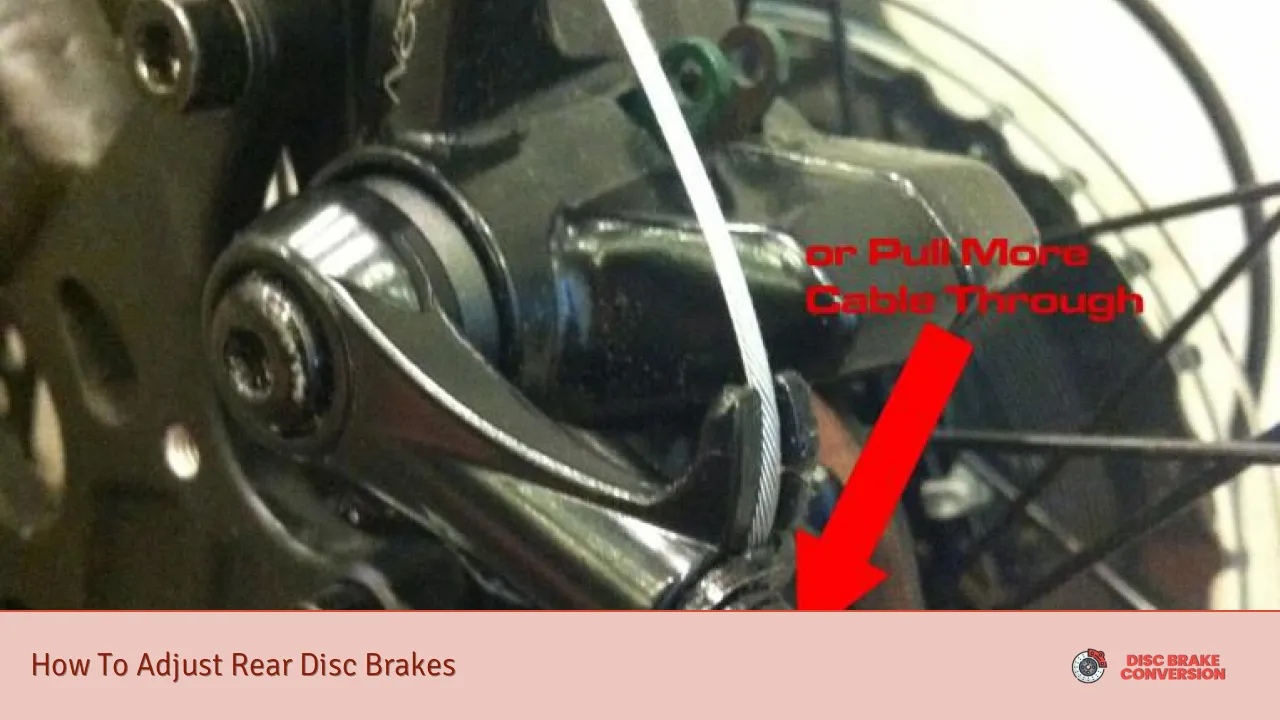
The adjustment process can vary slightly depending on whether you have hydraulic or mechanical disc brakes. Mechanical systems typically require manual adjustments, while hydraulic systems may self-adjust but still need periodic checks.
Tools Needed for Adjustment
Before starting the adjustment process, gather the following tools:
- Allen wrenches (typically 4mm or 5mm)
- Torque wrench
- Spacer gauge (1/32 inch recommended)
- Clean cloth for wiping components
- Optional: rubber band to hold brake lever
Having these tools ready will make the adjustment process smoother and more efficient.
Steps to Adjust Rear Disc Brakes
Step 1: Inspect Brake Components
Begin by inspecting the brake components for any signs of wear or damage. Check the rotor for warping or scoring, and ensure that the brake pads are not excessively worn. If any components are damaged, consider replacing them before proceeding with adjustments.
Step 2: Prepare for Adjustment
Remove the rear wheel from the bike to access the brake caliper easily. This step allows for better visibility and access to make precise adjustments without interference from other components.
Step 3: Loosen Caliper Bolts
Using an Allen wrench, loosen the bolts securing the caliper to its mount. Do not remove them completely; just loosen enough so that you can move the caliper slightly.
Step 4: Centering the Caliper
With the caliper loosened, pull the brake lever to engage the brake pads against the rotor. This action will help center the caliper over the rotor. While holding the lever, carefully tighten the caliper bolts back into place. Important info: Make sure not to overtighten as this can damage both the bolts and caliper.
Step 5: Adjusting Pad Clearance
After tightening, release the brake lever and spin the wheel to check for any rubbing sounds. If there is rubbing, you may need to adjust pad clearance further.
To do this:
- Loosen the caliper bolts again.
- Slide it slightly until you achieve an even gap between both pads and rotor.
- Retighten while keeping pressure on the brake lever.
Step 6: Final Check
Once you believe you have achieved proper alignment, spin the wheel again while checking for any contact between pads and rotor. If everything appears correct, squeeze the brake lever a few times to ensure that everything is functioning properly.
Maintaining Your Rear Disc Brakes
Regular maintenance is key to ensuring your rear disc brakes perform optimally over time. Here are some maintenance tips:
- Inspect regularly: Check your brakes for wear every few rides.
- Clean rotors: Use a clean cloth to wipe down rotors regularly.
- Check pad thickness: Replace pads when they reach about 1/16 inch thickness.
- Ensure proper alignment: Revisit alignment every few months or after significant use.
By maintaining your rear disc brakes properly, you can extend their lifespan and improve overall bike performance.
Troubleshooting Common Issues
Sometimes even after adjustments, issues may persist. Here are some common problems along with their solutions:
- Brakes still rub: Recheck alignment; ensure both pads are equidistant from rotor.
- Weak braking power: Inspect fluid levels in hydraulic systems; check cable tension in mechanical systems.
- Squeaking noise: Clean rotors thoroughly; ensure no debris is caught between pads and rotor.
By addressing these issues promptly, you can prevent further complications that may arise from neglecting your braking system.
FAQs About Adjusting Rear Disc Brakes
- How often should I adjust my rear disc brakes?
It’s advisable to check your brakes every few rides and adjust as necessary. - What tools do I need for adjusting rear disc brakes?
You will need Allen wrenches, a torque wrench, and a spacer gauge. - Can I adjust my hydraulic disc brakes?
Yes, but they usually self-adjust; manual adjustments may still be needed occasionally. - What if my brakes are still rubbing after adjustment?
Recheck alignment; ensure both pads are equidistant from rotor. - How do I know when to replace my brake pads?
Replace them when they reach about 1/16 inch thickness.
Adjusting rear disc brakes is a straightforward process that requires attention to detail and regular maintenance. By following these steps carefully, you can ensure your bike’s braking system remains safe and effective for all riding conditions.