
Disc brakes are an essential component of modern bicycles and vehicles, providing reliable stopping power in various conditions. However, to maintain optimal performance and longevity, regular cleaning and maintenance are crucial. This comprehensive guide will walk you through the process of cleaning and repairing disc brakes, ensuring your vehicle or bicycle stops safely and efficiently.
Disc brakes consist of a metal rotor attached to the wheel hub and a caliper that houses the brake pads. When you apply the brakes, the caliper squeezes the pads against the rotor, creating friction to slow or stop the vehicle. Over time, brake dust, dirt, and other contaminants can accumulate on these components, potentially affecting braking performance.
Regular cleaning of disc brakes not only improves their appearance but also helps maintain their functionality and extend their lifespan. By removing built-up grime and inspecting for wear, you can prevent costly repairs and ensure your safety on the road or trail.
| Benefits of Clean Disc Brakes | Risks of Dirty Disc Brakes |
|---|---|
| Improved braking performance | Reduced stopping power |
| Extended component lifespan | Increased wear on pads and rotors |
| Quieter operation | Squealing or grinding noises |
| Better heat dissipation | Overheating and brake fade |
Gathering Necessary Tools and Materials
Before you begin the cleaning process, it’s essential to gather all the required tools and materials. Having everything on hand will make the job more efficient and ensure you can complete the task without interruptions. Here’s a list of items you’ll need:
- Jack and jack stands (for vehicles)
- Wheel chocks
- Lug wrench
- Brake cleaner spray
- Isopropyl alcohol (for bicycles)
- Clean, lint-free cloths or paper towels
- Wire brush
- Soft-bristled brush
- Protective gloves
- Safety glasses
- Compressed air (optional)
- Brake lubricant (for moving parts, not friction surfaces)
It’s crucial to use the appropriate cleaning products for your specific brake system. For vehicles, a dedicated brake cleaner spray is typically the best choice. For bicycles, isopropyl alcohol is often recommended as it doesn’t leave any residue. Avoid using household cleaners or degreasers, as these can leave behind films that reduce braking performance.
When selecting brushes, opt for ones with soft bristles to avoid scratching the rotor surface. A wire brush can be useful for removing stubborn deposits but should be used cautiously to prevent damage. Always prioritize safety by wearing protective gloves and safety glasses throughout the cleaning process.
Preparing the Vehicle or Bicycle
Proper preparation is key to safely and effectively cleaning your disc brakes. Follow these steps to get started:
1. Park your vehicle on a flat, level surface or secure your bicycle in a work stand.
2. For vehicles, engage the parking brake and place wheel chocks behind the rear tires.
3. Loosen the lug nuts on the wheel you’ll be working on, but don’t remove them completely.
4. Jack up the vehicle and secure it with jack stands. Never rely solely on a jack for support.
5. Remove the wheel to access the brake assembly.
For bicycles, the process is simpler:
1. If possible, remove the wheel from the bicycle frame.
2. If the wheel remains attached, position the bike so you can easily access the brake components.
Once you have clear access to the brake assembly, take a moment to visually inspect the components. Look for signs of excessive wear, scoring on the rotor, or any obvious damage. This initial assessment can help you identify potential issues that may require professional attention beyond basic cleaning.
Cleaning the Brake Rotor
The brake rotor is a critical component that requires careful cleaning to ensure optimal performance. Follow these steps to clean your brake rotor effectively:
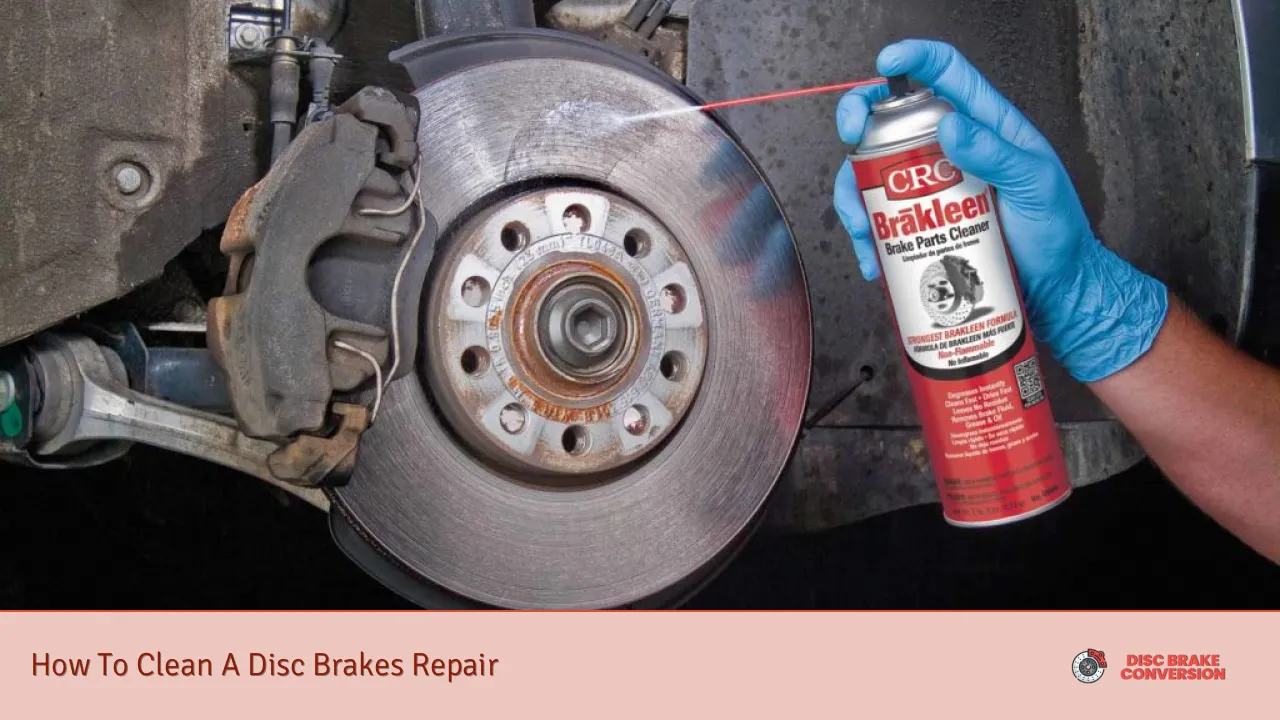
1. Begin by spraying the rotor with brake cleaner or applying isopropyl alcohol to a clean cloth.
2. Wipe the rotor surface thoroughly, paying attention to both sides.
3. Use a soft-bristled brush to gently scrub away any stubborn dirt or brake dust.
4. For extremely dirty rotors, you may need to use a wire brush, but be cautious to avoid scratching the surface.
5. Rinse the rotor with brake cleaner or alcohol to remove any loosened debris.
6. Use compressed air, if available, to blow away any remaining particles.
7. Wipe the rotor dry with a clean, lint-free cloth.
It’s important to note that you should never touch the rotor surface with your bare hands, as oils from your skin can contaminate the braking surface. Always handle the rotor by its edges or use clean gloves.
If you notice any deep grooves, cracks, or significant warping in the rotor, it may be time for replacement. Consult your vehicle or bicycle manufacturer’s specifications for rotor thickness limits and replacement guidelines.
Cleaning the Brake Calipers and Pads
The brake calipers and pads work together to create the friction necessary for stopping. Cleaning these components requires a bit more care:
1. Spray brake cleaner on the caliper body, avoiding direct contact with rubber seals and boots.
2. Use a soft brush to clean the caliper, paying special attention to the areas around the pistons.
3. Wipe away any dirt or grime with a clean cloth.
4. Inspect the brake pads for wear. If they’re worn beyond the manufacturer’s specifications, replace them.
5. If the pads are still in good condition, clean their surface with brake cleaner and a cloth.
6. For vehicle disc brakes, check that the caliper slides and pins move freely. Apply a small amount of brake lubricant if necessary.
When cleaning brake pads, be careful not to damage or contaminate the friction material. If you suspect that oil or grease has gotten onto the pad surface, it’s best to replace the pads entirely, as the contamination can significantly reduce braking performance.
For bicycle disc brakes, pay special attention to the alignment of the caliper over the rotor. Misalignment can cause rubbing and reduced braking efficiency. Most bicycle disc brake systems have adjustment screws that allow for fine-tuning of the caliper position.
Reassembly and Final Checks
After thoroughly cleaning all components, it’s time to reassemble your brake system:
1. Ensure all parts are completely dry before reassembly.
2. Reinstall the brake pads if they were removed, making sure they are seated correctly.
3. For vehicles, reattach the caliper to the bracket, ensuring it moves freely on its sliding mechanisms.
4. For bicycles, realign the caliper if necessary and tighten all mounting bolts to the specified torque.
5. Reinstall the wheel, tightening the lug nuts in a star pattern to the proper torque specification.
6. Lower the vehicle if it was jacked up, and remove the jack stands.
7. Perform a final check of all fasteners to ensure they’re secure.
Before taking your vehicle or bicycle out on the road, it’s crucial to “bed in” the brakes. This process involves a series of controlled stops to transfer a thin layer of pad material onto the rotor surface, which improves braking performance. Consult your vehicle or component manufacturer’s guidelines for specific bedding procedures.
After cleaning and reassembly, test the brakes in a safe area to ensure they’re functioning correctly. Listen for any unusual noises and pay attention to the brake feel. If you notice any issues, such as pulling to one side, vibrations, or reduced stopping power, have the system inspected by a professional.
FAQs About How To Clean A Disc Brakes Repair
- How often should I clean my disc brakes?
Clean your disc brakes every 3-6 months or more frequently if you ride in muddy or dusty conditions. - Can I use WD-40 to clean my disc brakes?
No, never use WD-40 or any oil-based products on disc brakes as they can contaminate the pads and reduce braking performance. - Is it necessary to remove the wheel to clean disc brakes?
While not always necessary, removing the wheel allows for more thorough cleaning and inspection of all brake components. - How do I know if my brake pads need replacement?
Check the pad thickness; if it’s less than 1.5mm or shows signs of uneven wear, it’s time to replace them. - Can I clean my disc brakes with soap and water?
It’s not recommended as soap can leave residue. Use a dedicated brake cleaner or isopropyl alcohol instead.