
Cleaning bicycle disc brakes is essential for maintaining optimal performance and safety. Over time, dirt, grime, and contaminants can accumulate on the brake pads and rotors, leading to decreased braking efficiency and increased wear. Regular cleaning not only helps ensure effective braking but also extends the life of your brake components. This guide will provide you with detailed steps on how to clean your bicycle disc brakes effectively.
Step Action 1 Gather necessary tools and materials. 2 Remove the wheel for easier access. 3 Clean the rotor using isopropyl alcohol. 4 Inspect and clean the brake pads. 5 Reassemble components and test brakes.
Tools and Materials Needed
To clean your bicycle disc brakes effectively, you will need the following tools and materials:
- Isopropyl alcohol or a dedicated disc brake cleaner: These products are effective in removing contaminants without leaving residue.
- Clean, lint-free cloths: Essential for wiping down surfaces without leaving fibers behind.
- Soft-bristled brush: A toothbrush or dedicated brake brush works well for removing dirt from hard-to-reach areas.
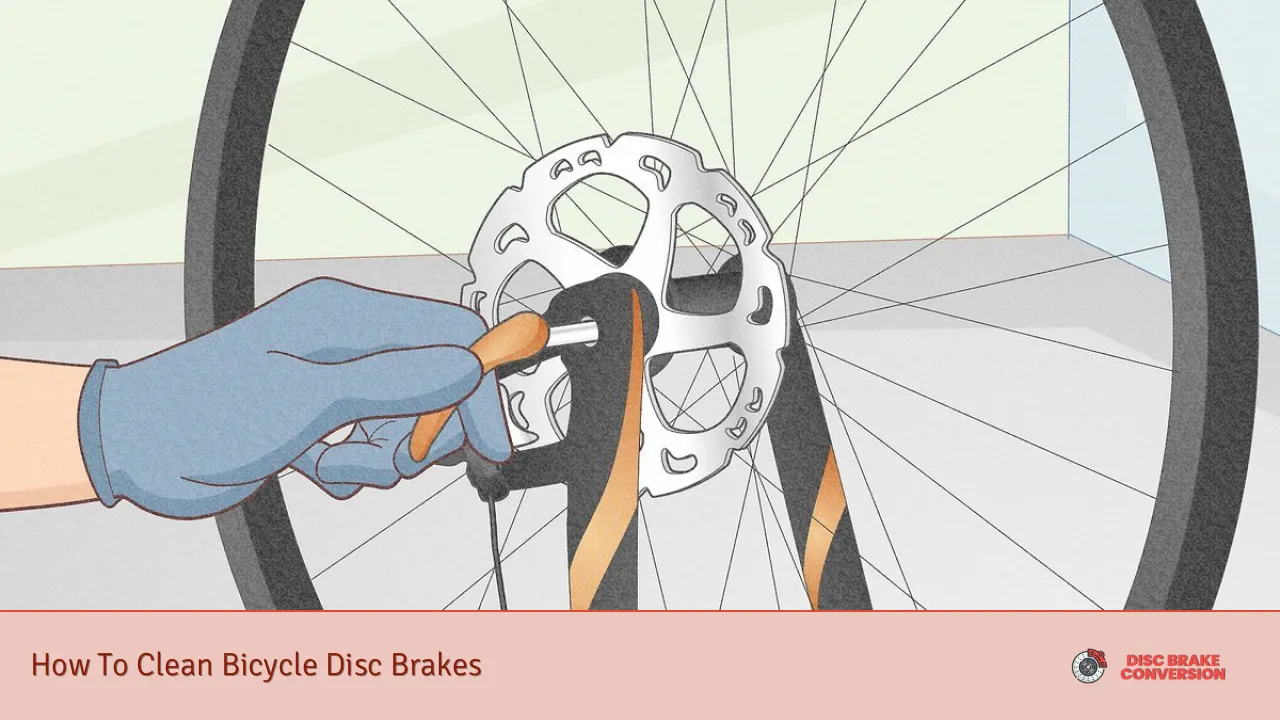
- Rubber gloves (optional): Wearing gloves can prevent oils from your hands from contaminating the brake components.
- Brake pad alignment tool (optional): This tool can help ensure proper positioning of brake pads during reassembly.
Step-by-Step Cleaning Process
Remove the Wheel
Start by removing the wheel from your bicycle. This step provides easier access to the rotor and caliper. Make sure to place the bike in a stable position, preferably on a bike stand, to avoid any accidents while cleaning.
Clean the Rotor
With the wheel removed, it’s time to focus on cleaning the rotor. Follow these steps:
- Apply isopropyl alcohol or a dedicated disc brake cleaner onto a clean cloth.
- Gently wipe both sides of the rotor, ensuring you cover all surfaces thoroughly. Avoid touching the rotor with your bare hands as this can transfer oils that may compromise braking performance.
- If you notice heavy contamination or oil stains on the rotor, you may need to use a soft-bristled brush to scrub gently before wiping it down again with alcohol.
Inspect and Clean the Brake Pads
Next, inspect your brake pads for wear or contamination. If they appear dirty or worn down, follow these steps:
- Carefully remove the brake pads from the caliper using appropriate tools (like an Allen key) if necessary.
- Lightly sand the surface of the pads with fine-grit sandpaper if they are contaminated but not excessively worn. This can help restore some effectiveness by removing surface contaminants.
- Use isopropyl alcohol on a clean cloth to wipe down both sides of each brake pad after sanding.
- If pads are excessively worn or damaged, it’s best to replace them entirely rather than attempting to clean them.
Clean the Caliper
While you have access to the caliper, it’s important to clean it as well:
- Use a soft-bristled brush to remove any dirt or debris accumulated around the caliper.
- Wipe down the exterior of the caliper with a cloth dampened in isopropyl alcohol.
Reassemble Components
Once everything is clean, reassemble your bike:
- Ensure that all components are aligned correctly before reattaching the wheel.
- Double-check that all bolts are tightened according to manufacturer specifications.
Testing Your Brakes
After cleaning and reassembling your bicycle disc brakes, it’s crucial to test their functionality:
- Spin the wheel to ensure there is no rubbing between the pads and rotor.
- Squeeze the brake lever several times to seat the pads properly against the rotor.
- Take your bike for a short test ride in a safe area to ensure that braking performance is restored and effective.
Maintenance Tips
To maintain optimal braking performance over time, consider these maintenance tips:
- Regular Cleaning: Clean your disc brakes regularly, especially after riding in wet or muddy conditions. This helps prevent buildup of contaminants that can affect performance.
- Avoid Contamination: Be cautious when applying lubricants near your brakes; never apply oil directly onto rotors or pads as this can severely impact braking efficiency.
- Inspect Brake Pads: Regularly check your brake pads for wear and replace them when they reach their minimum thickness or show signs of damage.
Common Mistakes to Avoid
When cleaning bicycle disc brakes, avoid these common mistakes:
- Using automotive brake cleaners that may leave residue or contain oils harmful to bike components.
- Touching braking surfaces with bare hands; always use gloves or ensure hands are clean before handling components.
- Ignoring signs of wear; if your brakes are squealing or not performing well after cleaning, inspect them closely for issues that may require attention beyond cleaning.
FAQs About How To Clean Bicycle Disc Brakes
- How often should I clean my bicycle disc brakes?
You should clean your disc brakes regularly, especially after riding in wet conditions or if you notice decreased performance. - Can I use soap and water to clean my disc brakes?
Yes, mild soap and water can be used for general cleaning but avoid getting soap on the rotors and pads. - What should I do if my brake pads are contaminated?
If contaminated, you can attempt light sanding; however, heavily contaminated pads should be replaced. - Is it safe to use automotive brake cleaner on my bike?
No, automotive cleaners may leave residues that can harm bike components; use bike-specific cleaners instead. - How do I know when to replace my brake pads?
Replace brake pads when they reach their minimum thickness or show visible signs of wear or damage.
By following these steps and tips for cleaning bicycle disc brakes, you can ensure that your braking system remains efficient and reliable. Regular maintenance will not only improve performance but also enhance safety while riding.