
Cleaning disc brake rotors is an essential maintenance task that ensures optimal braking performance and extends the lifespan of your braking system. Over time, brake rotors can accumulate dirt, dust, grease, and other contaminants that can affect their performance. Regular cleaning can help prevent issues such as squeaking, reduced braking efficiency, and uneven wear on brake pads.
In this guide, we will explore various methods for cleaning disc brake rotors, including step-by-step instructions for both on-vehicle and off-vehicle cleaning. We will also discuss the tools and materials needed for effective cleaning, as well as important safety precautions to consider during the process.
| Method | Description |
|---|---|
| On-Vehicle Cleaning | Quick method to clean rotors without removing wheels. |
| Off-Vehicle Cleaning | Thorough cleaning by removing rotors from the vehicle. |
Preparing for Cleaning
Before you begin cleaning your disc brake rotors, it’s crucial to prepare adequately. This preparation includes gathering the necessary tools and ensuring your safety throughout the process.
Tools and Materials Needed:
- Brake cleaner: A dedicated brake cleaner is preferred as it evaporates quickly without leaving residue.
- Lint-free cloths or paper towels: For wiping down the rotors and calipers.
- Soft-bristle brush: Useful for scrubbing away dirt and debris.
- Safety equipment: Gloves and safety goggles to protect yourself from chemicals and debris.
Safety Precautions:
- Always work in a well-ventilated area when using chemical cleaners.
- Ensure the vehicle is securely lifted and supported if you are working underneath it.
- Avoid wearing loose clothing that could get caught in moving parts.
Once you have gathered your materials and ensured your safety, you are ready to proceed with the cleaning process.
Cleaning Disc Brake Rotors On-Vehicle
Cleaning your disc brake rotors while they remain on the vehicle is a quick and efficient method. Follow these steps for effective on-vehicle cleaning:
1. Loosen Lug Nuts: Use a lug wrench to loosen the lug nuts on the wheels while the car is still on the ground.
2. Lift the Vehicle: Use a jack to lift the vehicle securely on a flat surface. Support it with axle stands for safety.
3. Remove Wheels: Unscrew the lug nuts completely and remove the wheels to access the brake components.
4. Apply Brake Cleaner: Spray a liberal amount of brake cleaner onto the rotors and calipers. Make sure to cover all surfaces thoroughly.
5. Wipe Down Components: Use a lint-free cloth or paper towel to wipe down the rotors and calipers, removing any dirt or grime.
6. Inspect for Damage: Check the rotors for signs of wear or damage, such as deep grooves or excessive rust.
7. Reinstall Wheels: Once cleaned, put the wheels back on and securely tighten the lug nuts.
8. Lower Vehicle: Carefully lower the vehicle back to the ground.
9. Test Brakes: Before driving, pump the brakes a few times to ensure they are functioning correctly.
This method allows you to clean your brakes quickly without removing any components, making it ideal for regular maintenance checks.
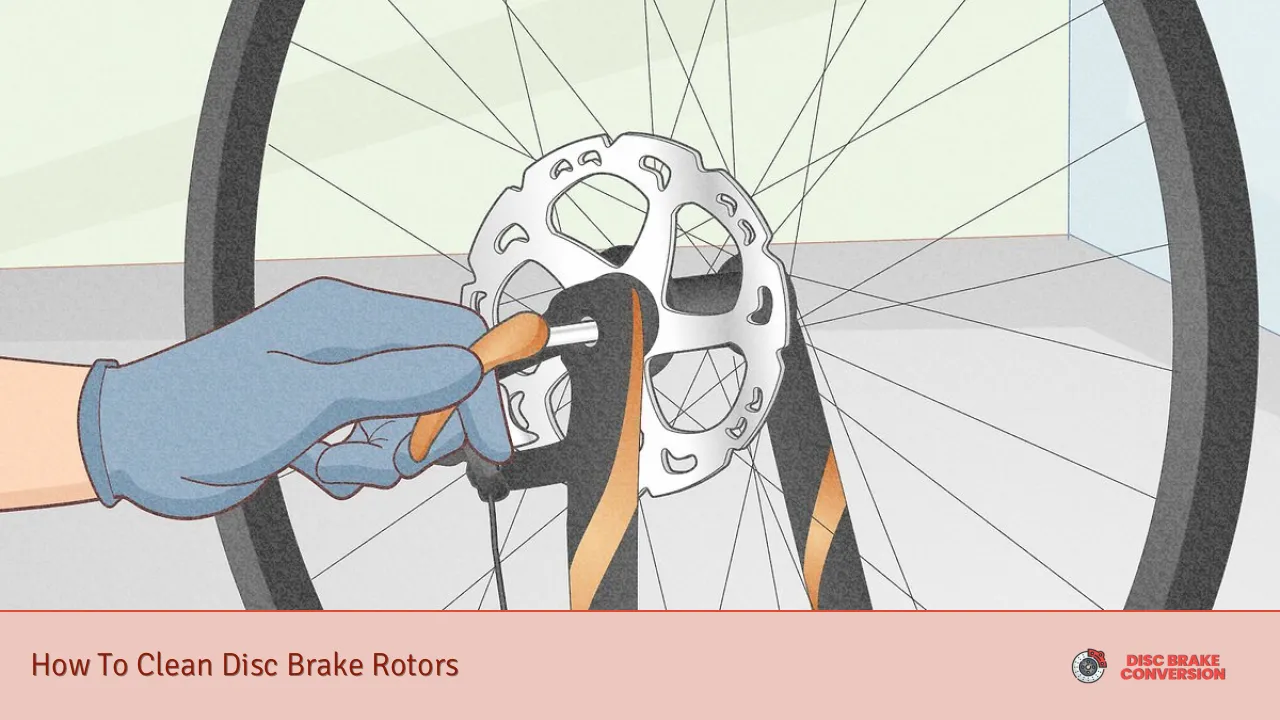
Cleaning Disc Brake Rotors Off-Vehicle
For a more thorough cleaning, removing the rotors from the vehicle is recommended. This process allows you to clean every part of the rotor effectively. Here’s how to do it:
1. Prepare Safety Gear: Wear gloves and goggles before starting.
2. Lift Vehicle Safely: Use a jack to lift your vehicle securely, placing it on axle stands.
3. Remove Wheels: Unscrew and remove each wheel using a lug wrench.
4. Remove Calipers: Carefully unbolt and remove the brake calipers from their mounts, ensuring not to damage any hoses.
5. Take Off Rotors: Slide off each rotor from its hub; they should come off easily unless rusted or stuck.
6. Clean Rotors with Brake Cleaner: Spray brake cleaner generously onto both sides of each rotor.
7. Scrub Away Contaminants: Use a soft-bristle brush to scrub away any rust or debris gently.
8. Rinse (If Necessary): If there is heavy contamination, rinse with water after scrubbing but ensure all parts dry completely before reinstalling them.
9. Inspect Components: Check both rotors and pads for wear or damage during this time.
10. Reassemble Everything: Reinstall rotors, calipers, and wheels securely before lowering your vehicle back down.
11. Bed in Brakes: After cleaning, perform several gentle stops in a safe area to bed in your brakes properly.
Cleaning off-vehicle provides an opportunity for deeper maintenance but requires more time and effort compared to on-vehicle cleaning.
Common Cleaning Solutions
When it comes to cleaning solutions for disc brake rotors, there are several options available:
- Dedicated Brake Cleaners: These are specifically formulated to clean brake components without leaving residue.
- Isopropyl Alcohol: A common household item that can effectively clean rotors when used with a lint-free cloth.
- Vinegar Solution: Soaking heavily rusted rotors in white vinegar can help break down rust over time but may require longer soaking periods.
Using these solutions can significantly enhance your cleaning process by ensuring that all contaminants are effectively removed without damaging any components.
Signs That Your Rotors Need Cleaning
Recognizing when your disc brake rotors need cleaning is crucial for maintaining braking efficiency:
- Squeaking or Squealing Sounds: Noise when applying brakes may indicate dust or debris buildup.
- Reduced Braking Performance: If you notice longer stopping distances or less responsive brakes.
- Visible Dirt or Rust Accumulation: Inspecting your brakes regularly can help catch issues early before they worsen.
Keeping an eye out for these signs can lead to timely maintenance actions that enhance safety while driving.
FAQs About How To Clean Disc Brake Rotors
- What is the best product to clean disc brake rotors?
A dedicated brake cleaner is recommended as it evaporates quickly without leaving residue. - How often should I clean my disc brakes?
It’s advisable to check them weekly and perform a thorough clean when necessary. - Can I use soap and water to clean my disc brakes?
While mild soap and water can be used, specialized cleaners are more effective at removing contaminants. - Is it safe to use WD-40 on my disc brakes?
WD-40 should not be used as it can contaminate pads; stick with alcohol-based cleaners instead. - What happens if I don’t clean my disc brakes?
Neglecting maintenance can lead to reduced braking efficiency and potential safety hazards.
Cleaning disc brake rotors is an essential aspect of vehicle maintenance that ensures safety and performance. By following these steps carefully and using appropriate materials, you can maintain your braking system effectively while prolonging its lifespan. Regular inspections combined with timely cleaning will keep your brakes functioning optimally for years to come.