
Disc brakes are an essential component of modern vehicles and bicycles, providing superior stopping power and performance in various conditions. However, to maintain their effectiveness, regular cleaning is crucial. Proper disc brake cleaning not only enhances braking performance but also extends the lifespan of your brake components. This comprehensive guide will walk you through the process of cleaning disc brakes effectively, ensuring optimal function and safety.
Disc brakes consist of two main components: the rotor (disc) and the caliper, which houses the brake pads. Over time, these parts accumulate dust, grime, and other contaminants that can affect braking efficiency. Regular cleaning removes these impurities, preventing squealing, reduced braking power, and premature wear of brake components.
| Benefits of Clean Disc Brakes | Consequences of Dirty Disc Brakes |
|---|---|
| Improved braking performance | Reduced stopping power |
| Extended component lifespan | Premature wear of pads and rotors |
| Quieter operation | Squealing or grinding noises |
| Consistent braking feel | Inconsistent or pulsating brake pedal |
Gathering Necessary Tools and Materials
Before you begin the cleaning process, it’s essential to gather all the required tools and materials. Having everything at hand will make the task more efficient and ensure you can complete the cleaning without interruptions. Here’s a list of items you’ll need:
- Isopropyl alcohol or a specialized brake cleaner
- Clean, lint-free cloths or paper towels
- Protective gloves
- Safety goggles
- A small brush (soft-bristled toothbrush or dedicated brake brush)
- Jack and jack stands (for vehicles)
- Wheel chocks
- Wrench set (for removing wheels, if necessary)
- Brake pad alignment tool (optional, but helpful)
When selecting a cleaning solution, it’s crucial to choose one that’s safe for use on brake components. Isopropyl alcohol (at least 90% concentration) is a popular choice due to its effectiveness and quick evaporation, leaving no residue. Alternatively, you can use a specialized brake cleaner from an auto parts store. Avoid using household cleaners or degreasers, as these can leave harmful residues that affect brake performance.
Ensure you have adequate ventilation in your work area, as brake cleaners and alcohol can produce strong fumes. If working outdoors isn’t an option, open windows and use fans to improve air circulation. Safety should always be your top priority when working on any vehicle component, especially brakes.
Preparing for Disc Brake Cleaning
Proper preparation is key to a successful and safe disc brake cleaning process. Follow these steps to ensure you’re ready to begin:
1. Park your vehicle on a level surface and engage the parking brake.
2. For added safety, place wheel chocks behind the rear wheels if you’re working on the front brakes, or in front of the front wheels if cleaning the rear brakes.
3. Loosen the lug nuts on the wheel you’ll be removing, but don’t remove them completely yet.
4. Use a jack to lift the vehicle, following the manufacturer’s recommended jacking points.
5. Once lifted, place jack stands under the vehicle for additional support and safety.
6. Remove the wheel to access the brake assembly.
For bicycles, the process is simpler:
1. Place the bike in a stand or flip it upside down, resting it on the seat and handlebars.
2. If possible, remove the wheels for better access to the brake rotors and calipers.
Always consult your vehicle or bicycle owner’s manual for specific instructions related to your model, as procedures may vary.
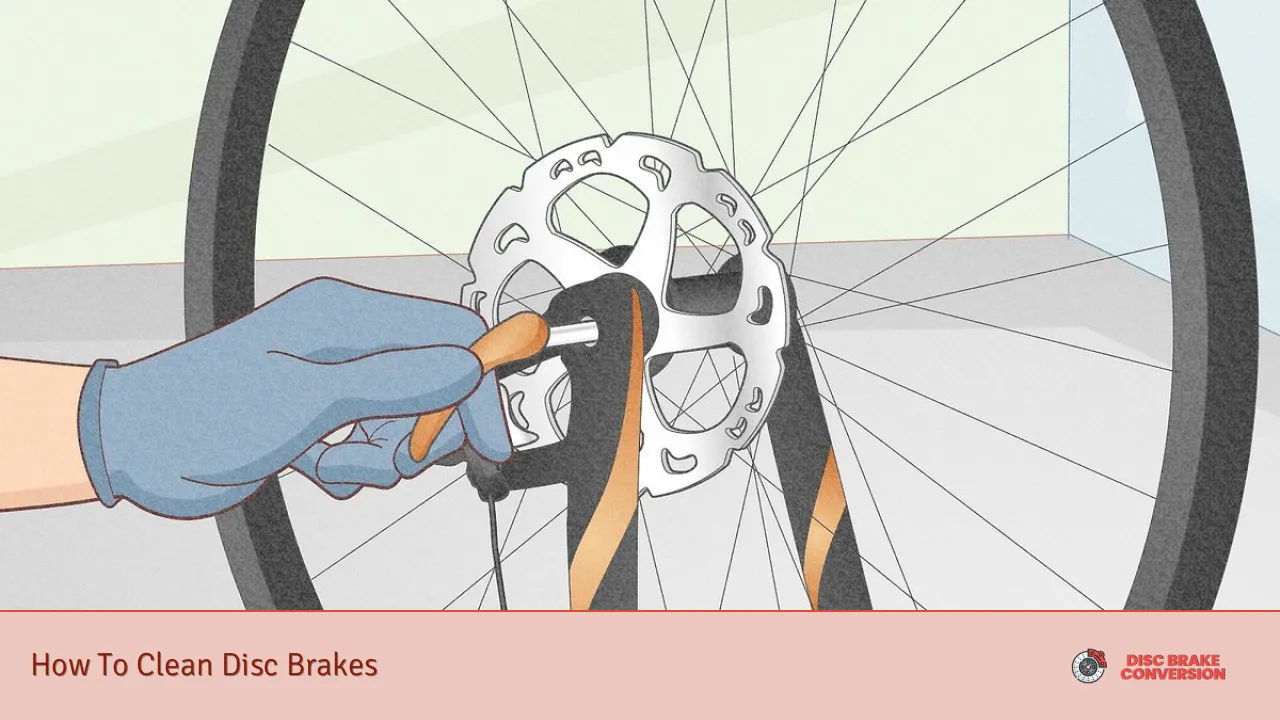
Cleaning the Disc Brake Rotors
With the brake assembly exposed, you can now begin cleaning the rotors. Follow these steps for thorough cleaning:
1. Inspect the rotors for any visible damage, such as deep grooves, cracks, or uneven wear. If you notice significant issues, consider professional inspection or replacement.
2. Apply brake cleaner or isopropyl alcohol to a clean, lint-free cloth.
3. Wipe the rotor surface thoroughly, paying special attention to any visible dirt or contamination.
4. Use a small brush to clean between the rotor vents if present.
5. For stubborn grime, you can use fine-grit sandpaper (400 grit or higher) to gently clean the rotor surface. Be sure to clean in a circular motion to maintain an even surface.
6. After cleaning, wipe the rotor again with a fresh, clean cloth soaked in brake cleaner to remove any residue.
Remember, avoid touching the cleaned rotor surface with bare hands, as oils from your skin can contaminate the braking surface. If accidental contact occurs, clean the area again with brake cleaner.
Cleaning the Brake Calipers and Pads
Cleaning the calipers and pads is equally important for maintaining optimal brake performance. Here’s how to do it:
1. Inspect the brake pads for wear. If they’re worn beyond the manufacturer’s recommended thickness, replace them before continuing.
2. Use a brush to remove any loose debris from the caliper and pads.
3. Apply brake cleaner to a clean cloth and wipe down the visible parts of the caliper.
4. For the brake pads, use a clean cloth with brake cleaner to wipe the surface gently. Be careful not to saturate the pads, as this can affect their performance.
5. If the pads are severely contaminated, it’s best to replace them rather than attempting to clean them.
6. Check the caliper pistons for smooth operation. If they’re sticking, consult a professional mechanic.
For bicycles, you may need to remove the pads from the caliper for thorough cleaning. If doing so, pay attention to their orientation for correct reinstallation.
Reassembly and Final Steps
After cleaning all components, it’s time to reassemble everything:
1. Ensure all parts are completely dry before reassembly.
2. If you removed the brake pads, reinstall them in the correct orientation.
3. Reattach the caliper if it was removed.
4. Reinstall the wheel, tightening the lug nuts in a star pattern to the manufacturer’s specified torque.
5. Lower the vehicle from the jack stands.
6. Perform a final tightening of the lug nuts once the vehicle is on the ground.
For bicycles, simply reinstall the wheel if it was removed.
Before driving or riding, it’s crucial to bed in the brakes. This process helps transfer a thin layer of pad material to the rotor surface, improving braking performance. To do this:
- For vehicles: Find a safe, traffic-free area. Accelerate to about 35 mph and brake firmly to about 5 mph. Repeat this process 5-6 times, allowing the brakes to cool between each stop.
- For bicycles: Ride at a moderate speed and apply the brakes firmly to slow down without stopping completely. Repeat this 10-15 times.
Maintenance Tips for Longer-Lasting Disc Brakes
To keep your disc brakes in top condition and extend their lifespan, consider these maintenance tips:
- Regular Inspection: Check your brakes visually at least once a month for signs of wear or damage.
- Avoid Contamination: When lubricating other parts of your vehicle or bicycle, be careful not to get any oil or grease on the brake components.
- Address Issues Promptly: If you notice any changes in braking performance, unusual noises, or vibrations, have your brakes inspected by a professional immediately.
- Use Quality Parts: When replacements are necessary, opt for high-quality brake pads and rotors recommended by the manufacturer.
- Proper Break-in: Always follow the proper break-in procedure when installing new brake pads or rotors.
By following these cleaning and maintenance practices, you can ensure your disc brakes provide reliable, efficient stopping power for years to come. Remember, while DIY maintenance is valuable, don’t hesitate to consult a professional for complex issues or if you’re unsure about any aspect of brake maintenance.
FAQs About How To Clean Disc Brakes
- How often should I clean my disc brakes?
Clean your disc brakes every 3-6 months or more frequently if you ride in muddy or dusty conditions. - Can I use water to clean my disc brakes?
Avoid using water as it can leave residue. Stick to isopropyl alcohol or specialized brake cleaner for best results. - Is it necessary to remove the wheels to clean disc brakes?
While not always necessary, removing the wheels allows for more thorough cleaning and inspection. - What should I do if my brakes squeal after cleaning?
Light squealing is normal after cleaning. If it persists, ensure the pads and rotors are properly bedded in. - Can I clean my disc brakes without removing the pads?
Yes, but for a more thorough cleaning, it’s best to remove the pads if possible.