
Converting to disc brakes is a popular modification among car enthusiasts and classic car restorers. This upgrade enhances braking performance, safety, and reliability compared to traditional drum brakes. Disc brakes provide better heat dissipation, increased stopping power, and require less maintenance. Whether you own a classic vehicle or simply want to improve your car’s performance, understanding the conversion process is essential.
The conversion can be performed on various vehicles, especially those manufactured before the 1970s, when disc brakes became more common. However, even modern vehicles may benefit from upgrading their rear drum brakes to disc brakes. This guide will provide you with detailed steps on how to perform a disc brake conversion, the tools required, and considerations to keep in mind during the process.
| Aspect | Details |
|---|---|
| Benefits | Increased stopping power, better heat dissipation, easier maintenance |
| Common Vehicles | Classic cars, trucks, and some modern vehicles |
Understanding Disc Brake Systems
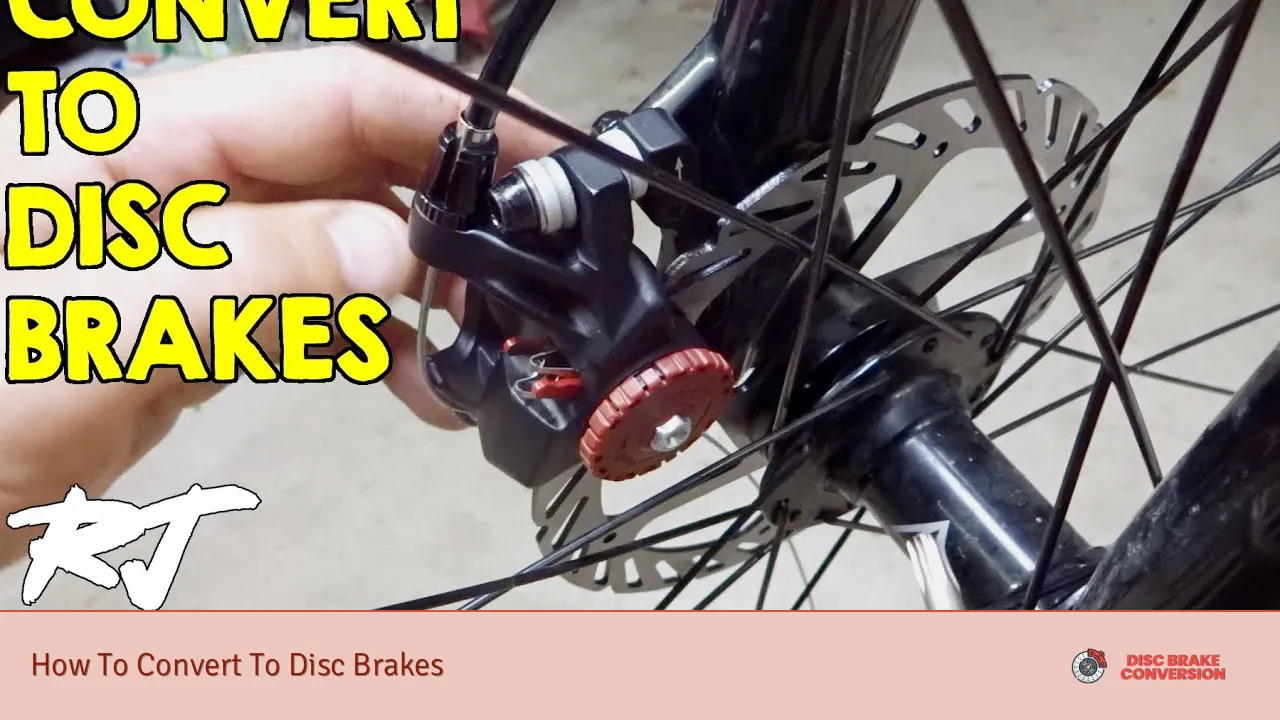
Disc brakes operate using a rotor that spins with the wheel and a caliper that houses brake pads. When the driver presses the brake pedal, hydraulic pressure forces the pads against the rotor, creating friction that slows down or stops the vehicle. This system is generally more efficient than drum brakes because it dissipates heat better and provides more consistent braking performance.
Key advantages of disc brakes include:
- Improved Stopping Power: Disc brakes offer greater stopping power due to their design, which allows for more effective force application.
- Better Performance in Wet Conditions: Unlike drum brakes that can trap water and debris, disc brakes maintain consistent performance regardless of weather conditions.
- Less Maintenance Required: Disc brake systems typically require less frequent adjustments and are easier to inspect visually for wear.
The conversion process involves replacing existing drum brakes with disc brake components. This can be done on both front and rear axles but may require different kits depending on your vehicle’s specifications.
Tools and Materials Needed for Conversion
Before starting the conversion process, gather all necessary tools and materials. Having everything ready will streamline the installation and minimize downtime.
Essential tools include:
- Jack and Jack Stands: To lift the vehicle safely.
- Wrenches and Sockets: For removing existing brake components.
- Brake Line Wrenches: To prevent damage to brake lines during disassembly.
- Torque Wrench: To ensure all components are tightened to manufacturer specifications.
Materials required:
- Disc Brake Conversion Kit: This typically includes rotors, calipers, brake pads, mounting brackets, and necessary hardware.
- Brake Fluid: For bleeding the new brake system after installation.
- Brake Cleaner: To clean components during installation.
Having these tools and materials ready will make the conversion process smoother and more efficient.
Step-by-Step Guide to Converting to Disc Brakes
Converting to disc brakes can be done as a DIY project if you have basic mechanical skills. Below are step-by-step instructions for performing this conversion effectively.
Step 1: Prepare Your Vehicle
Start by ensuring your vehicle is parked on a flat surface. Engage the parking brake for safety. Use a jack to lift the vehicle and secure it with jack stands. Remove the wheels where you will be performing the conversion.
Step 2: Remove Existing Drum Brakes
Begin by removing the brake drums. This typically involves:
- Loosening lug nuts on each wheel.
- Removing any retaining clips or bolts holding the drum in place.
- Carefully pulling off the drum; if it’s stuck, tap it gently with a hammer.
Once removed, disconnect the brake shoes by unfastening any springs or hardware attached to them.
Step 3: Install New Components
With the drum brakes removed, it’s time to install the new disc brake components:
- Attach the rotor to the hub by sliding it onto the spindle. Secure it with new bolts provided in your conversion kit.
- Install the caliper bracket according to manufacturer instructions. Ensure it is aligned correctly for optimal performance.
- Mount the caliper onto the bracket over the rotor and secure it in place with bolts.
Step 4: Connect Brake Lines
Carefully connect new brake lines or adapt existing ones as needed:
- Ensure all connections are tight and free from leaks.
- If your kit includes new hoses or lines, follow specific instructions provided with your kit for routing them properly.
Step 5: Bleed The Brake System
After installation is complete, it’s crucial to bleed the brake system:
- Fill the master cylinder with fresh brake fluid.
- Starting from the furthest wheel from the master cylinder (usually rear passenger), use a helper or a one-person bleeding kit to bleed each line until no air bubbles appear in fluid flow.
Step 6: Test Braking Performance
Once everything is installed and bled:
- Reinstall wheels and lower your vehicle back to ground level.
- Perform a test drive in a safe area at low speeds initially. Gradually test braking performance under controlled conditions before driving normally.
Common Issues During Conversion
While converting to disc brakes can significantly enhance your vehicle’s performance, there are common issues that may arise during this process:
- Improper Fitment: Ensure that all parts fit correctly as specified in your kit. Mismatched components can lead to braking failures.
- Overheating Problems: If not installed correctly or if parts are of low quality, overheating can occur during use leading to warped rotors or caliper failure.
- Hydraulic Issues: Ensure there are no leaks in your hydraulic system after installation; any leaks can severely impact braking efficiency.
To avoid these issues, always follow manufacturer guidelines closely and consider consulting a professional if you’re unsure about any step in this process.
FAQs About How To Convert To Disc Brakes
- What are disc brakes?
Disc brakes use a rotor and caliper system for improved stopping power compared to traditional drum brakes. - Why convert from drum to disc brakes?
Disc brakes offer better performance, heat dissipation, and require less maintenance than drum systems. - How long does it take to convert?
The conversion process typically takes 1-3 hours per axle depending on experience. - Can I do this conversion myself?
Yes, if you have basic mechanical skills and tools; however, professional help is recommended for beginners. - What should I do after installation?
Always bleed your brake system thoroughly after installation before performing any test drives.
Converting to disc brakes is an excellent way to enhance your vehicle’s safety and performance. By following these steps carefully and ensuring proper installation of all components, you can achieve reliable braking power that meets modern standards.