
Replacing disc brakes is an essential skill for any car owner or mechanic. The braking system is crucial for vehicle safety, and worn or damaged brakes can lead to severe consequences. This guide will walk you through the process of replacing disc brakes, ensuring you have the knowledge and confidence to complete the task safely and effectively.
The procedure generally involves removing the wheel, caliper, and old brake disc, followed by installing the new disc and reassembling the components. While some may opt for professional help, understanding the process can save time and money.
Before starting, ensure you have the necessary tools and replacement parts. Always prioritize safety by working on a level surface and using appropriate lifting equipment.
| Step | Description |
|---|---|
| 1 | Gather necessary tools and replacement parts. |
| 2 | Ensure the vehicle is securely lifted. |
Preparing for Brake Replacement
Before you begin replacing your disc brakes, preparation is key. Gather all necessary tools and replacement parts to ensure a smooth process. You will need:
- A jack and jack stands
- A lug wrench
- A brake caliper tool
- A socket set
- Replacement brake discs
- Brake pads (recommended to replace simultaneously)
- Brake cleaner
- Anti-seize lubricant
Make sure your vehicle is parked on a flat surface and engage the parking brake. Use a jack to lift the vehicle and secure it with jack stands for safety.
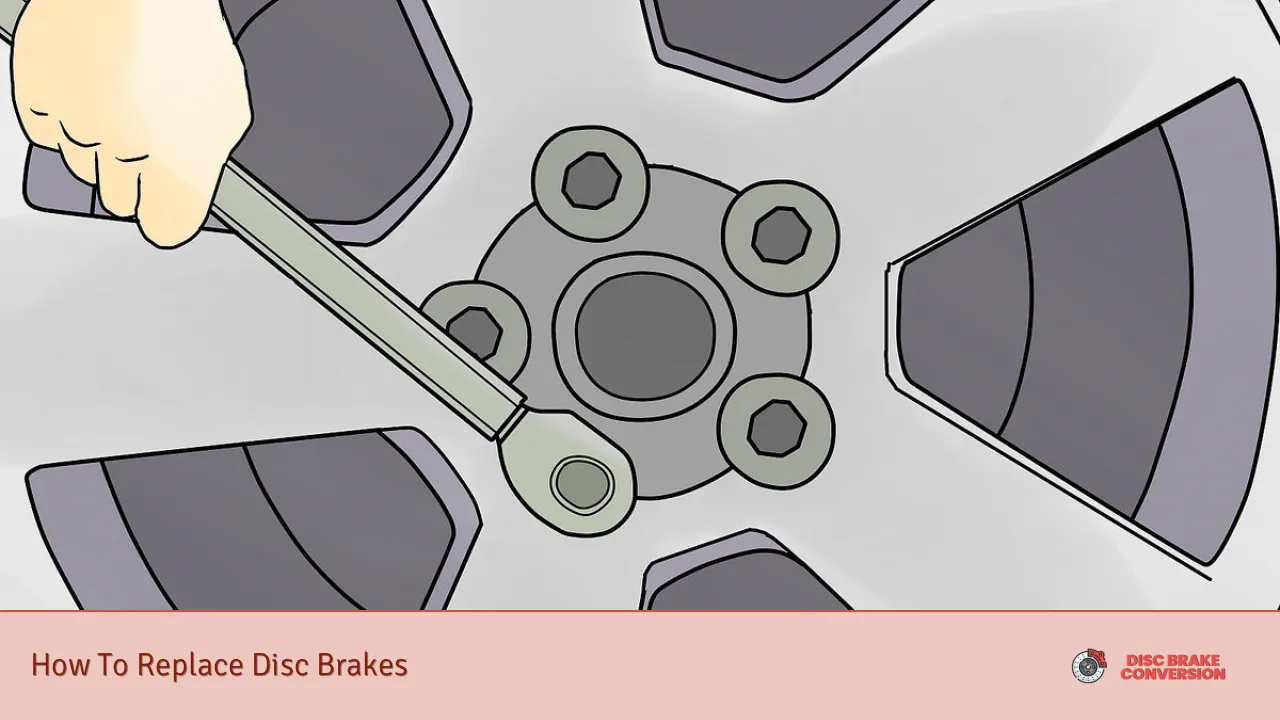
Removing the Wheel
Start by removing the wheel where you will be replacing the disc brakes. Using a lug wrench, loosen the lug nuts while the wheel is still on the ground to prevent it from spinning. Once loosened, lift the vehicle with a jack and remove the lug nuts completely.
Carefully take off the wheel and set it aside in a safe location. This exposes the brake assembly, allowing you to access the caliper and disc.
Removing the Brake Caliper
Next, you need to remove the brake caliper, which houses the brake pads. Follow these steps:
- Locate the caliper mounting bolts; these are typically found on the back of the caliper.
- Use a socket wrench to remove these bolts.
- Carefully slide the caliper off its bracket. Important: Do not let it hang by the brake line; instead, use a bungee cord or rope to suspend it from a nearby suspension component.
Once removed, inspect both the caliper and pads for wear. If they are worn, consider replacing them as well.
Detaching Old Brake Discs
With the caliper removed, you can now detach the old brake disc:
- Check if there are any retaining screws holding the disc in place; if so, remove them.
- Gently pull off the old disc. If it’s stuck due to rust or debris, tap around its edge with a rubber mallet until it loosens.
Inspect the hub surface for any damage or rust that may affect installation of new discs.
Installing New Brake Discs
Now it’s time to install your new brake discs:
- Clean the hub surface thoroughly using brake cleaner to remove any debris or rust.
- Position the new brake disc onto the hub, ensuring it sits flush against it.
- Secure it with any retaining screws if applicable.
Important: Make sure that no oil or grease contaminates the mounting surface of the new disc as this can affect braking performance.
Reinstalling Brake Caliper and Pads
After securing your new disc, reinstalling your brake caliper is next:
- If you are also replacing pads, now is a good time to do so. Use a brake caliper tool to compress the piston back into its housing; this creates space for thicker new pads.
- Place new pads into their respective slots in the caliper bracket.
- Carefully slide your caliper back over these pads and secure it with its mounting bolts.
Ensure that everything is tightened according to manufacturer specifications.
Replacing Wheel and Testing Brakes
With everything in place, replace your wheel:
- Slide it back onto the hub and hand-tighten lug nuts.
- Lower your vehicle back onto its wheels using a jack.
- Once on solid ground, fully tighten all lug nuts in a crisscross pattern to ensure even pressure.
After reassembly, it’s crucial to test your brakes before driving:
- Pump your brake pedal several times until you feel resistance; this ensures proper contact between pads and discs.
- Check fluid levels in your brake reservoir; top up if necessary.
Finally, take your vehicle for a short test drive at low speeds to ensure everything functions correctly without any unusual noises or vibrations.
Maintenance Tips Post-Replacement
After replacing your disc brakes, regular maintenance can prolong their life:
- Inspect brakes regularly for wear.
- Keep brake components clean from dust and debris.
- Ensure proper lubrication of moving parts like caliper slides.
By following these maintenance tips, you can enhance braking performance and ensure safety on your journeys.
FAQs About How To Replace Disc Brakes
- How often should I replace my disc brakes?
Disc brakes should generally be replaced every 30,000 to 70,000 miles depending on driving habits. - Can I replace just one brake disc?
While possible, it’s recommended to replace both discs on an axle for balanced braking performance. - What tools do I need for replacing disc brakes?
You will need a jack, lug wrench, socket set, brake cleaner, and possibly a caliper tool. - Is it necessary to replace pads when changing discs?
Yes, it’s best practice to replace both at the same time for optimal performance. - What should I do if my brakes feel spongy after replacement?
If spongy, check fluid levels and bleed air from brake lines if necessary.
By understanding how to replace disc brakes properly, you enhance not only your vehicle’s safety but also its overall performance. Whether you’re doing this as part of routine maintenance or responding to wear signs, following these guidelines will help ensure effective braking capabilities for years to come.