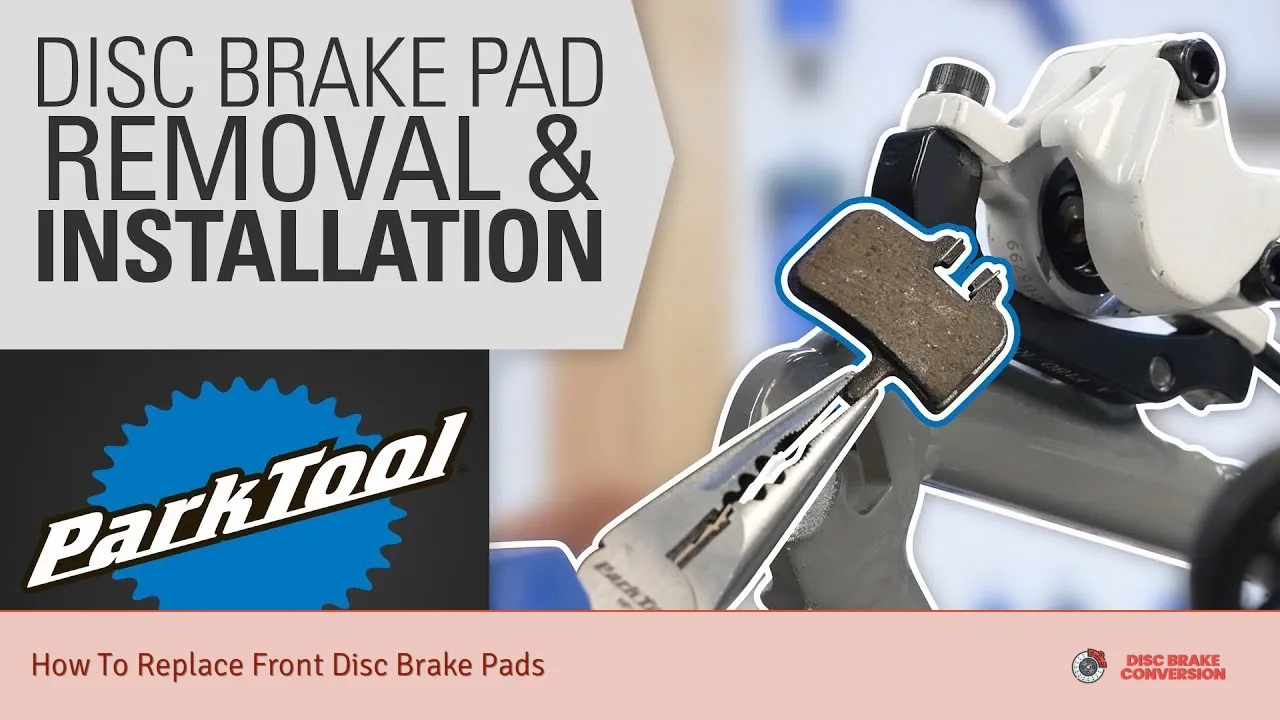
Replacing front disc brake pads is an essential maintenance task that ensures your vehicle operates safely and efficiently. Worn brake pads can lead to decreased braking performance, increased stopping distances, and even damage to other braking components. This guide provides a step-by-step approach to replacing front disc brake pads, ensuring you have the knowledge and confidence to perform this task effectively.
Brake pads are vital components of your vehicle’s braking system. They create friction against the brake discs, allowing your car to slow down or stop. Over time, these pads wear down due to constant use, necessitating replacement. Knowing when and how to replace them can save you money and enhance your safety on the road.
Before starting the replacement process, it’s important to gather the necessary tools and materials. This includes new brake pads, a jack, jack stands, a lug wrench, a socket set, a brake caliper tool, and possibly some grease for installation.
| Tools Required | Purpose |
|---|---|
| Jack | To lift the vehicle |
| Jack Stands | To secure the vehicle while working |
| Lug Wrench | To remove wheel nuts |
| Socket Set | For removing caliper bolts |
| Brake Caliper Tool | To retract the caliper piston |
| Grease | To lubricate contact points |
Preparing for Brake Pad Replacement
Before you begin replacing your brake pads, ensure you have a safe working environment. Park your vehicle on a level surface and engage the parking brake. Gather all necessary tools and materials mentioned earlier.
Once you’re ready, start by loosening the lug nuts on the wheel where you will be replacing the brake pads. Do this while the wheel is still on the ground. After loosening them, use a jack to lift the vehicle and secure it with jack stands for safety.
Next, remove the wheel completely to access the brake assembly. This will expose the brake caliper, which houses the brake pads.
Removing the Old Brake Pads
With the wheel removed, locate the brake caliper, which is typically held in place by two bolts. Use a socket wrench to remove these bolts carefully. Once removed, gently pivot or slide the caliper off the brake disc. Be cautious not to let it hang by the brake line; instead, use a bungee cord or rope to secure it in place.
After removing the caliper, you will see the old brake pads attached to it. These pads may be held in place by clips or retaining pins. Carefully remove these clips or pins using pliers or a flathead screwdriver as needed.
Once free of any retainers, slide out the old brake pads from their housing. It’s advisable to inspect them for wear patterns and check if they have caused any damage to the rotor.
Installing New Brake Pads
Before installing new brake pads, it’s crucial to prepare them properly. Apply a thin layer of grease on the back of each pad where they contact the caliper; this helps reduce noise and ensures smooth operation.
Next, position the new brake pads into their designated slots on the caliper bracket. Ensure they are seated correctly before proceeding.
Now it’s time to retract the caliper piston. This step is necessary because new brake pads are thicker than worn ones. Use a brake caliper tool or C-clamp to push back the piston gently into its housing until it is flush with the caliper body.
After retracting the piston, carefully place the caliper back over the new pads and align it with its mounting holes. Reinsert and tighten the caliper bolts securely but avoid overtightening as this may strip threads.
Reassembling and Testing
Once everything is secured in place, it’s time to reattach your wheel. Place it back onto the hub and hand-tighten all lug nuts before lowering your vehicle off of its jack stands.
After lowering your vehicle back onto solid ground, use your lug wrench to tighten all lug nuts in a crisscross pattern for even distribution of pressure.
Before taking your car for a test drive, pump your brakes several times until you feel resistance; this action helps seat the new pads against the rotor properly.
Finally, take your vehicle for a short test drive in a safe area to ensure that everything is functioning correctly. Listen for any unusual noises and check that braking feels firm and responsive.
Maintenance Tips
Regular maintenance of your braking system is essential for safety and longevity. Here are some tips:
- Inspect brake pads regularly: Check for wear every few thousand miles.
- Monitor braking performance: If you notice any changes in how your brakes feel or sound, have them checked immediately.
- Use quality parts: Always opt for high-quality brake pads that meet OEM specifications.
- Keep an eye on fluid levels: Ensure that your brake fluid is at appropriate levels as low fluid can affect braking performance.
- Follow manufacturer recommendations: Refer to your vehicle’s manual for specific maintenance intervals regarding brakes.
FAQs About Replacing Front Disc Brake Pads
- How often should I replace my front disc brake pads?
Brake pads typically need replacing every 20,000 to 70,000 miles depending on driving habits. - Can I replace my brake pads myself?
Yes, if you have basic mechanical skills and tools. - What signs indicate my brake pads need replacing?
Squeaking or grinding noises when braking are common indicators. - Do I need to replace rotors when changing brake pads?
Not always; however, if rotors are worn or damaged, they should be replaced. - Is it safe to drive with worn-out brake pads?
No; driving with worn-out brakes can compromise safety.
Replacing front disc brake pads is manageable with proper knowledge and tools. Following this guide ensures that you can maintain your vehicle’s braking system effectively while enhancing safety on the road. Always prioritize safety by working carefully and consulting professionals if you’re unsure about any steps in this process.

